Part two of our adventure is assembling the project once all the painted papers are dry. For our preschoolers, we will have to cut out the circles for them and the planet part. But older children can do this on their own.
Step one is to cut out the black paper. I suggest cutting two. Then one can be used for your project and the other as a template for all the others. Save the cut outs to be used for planets.
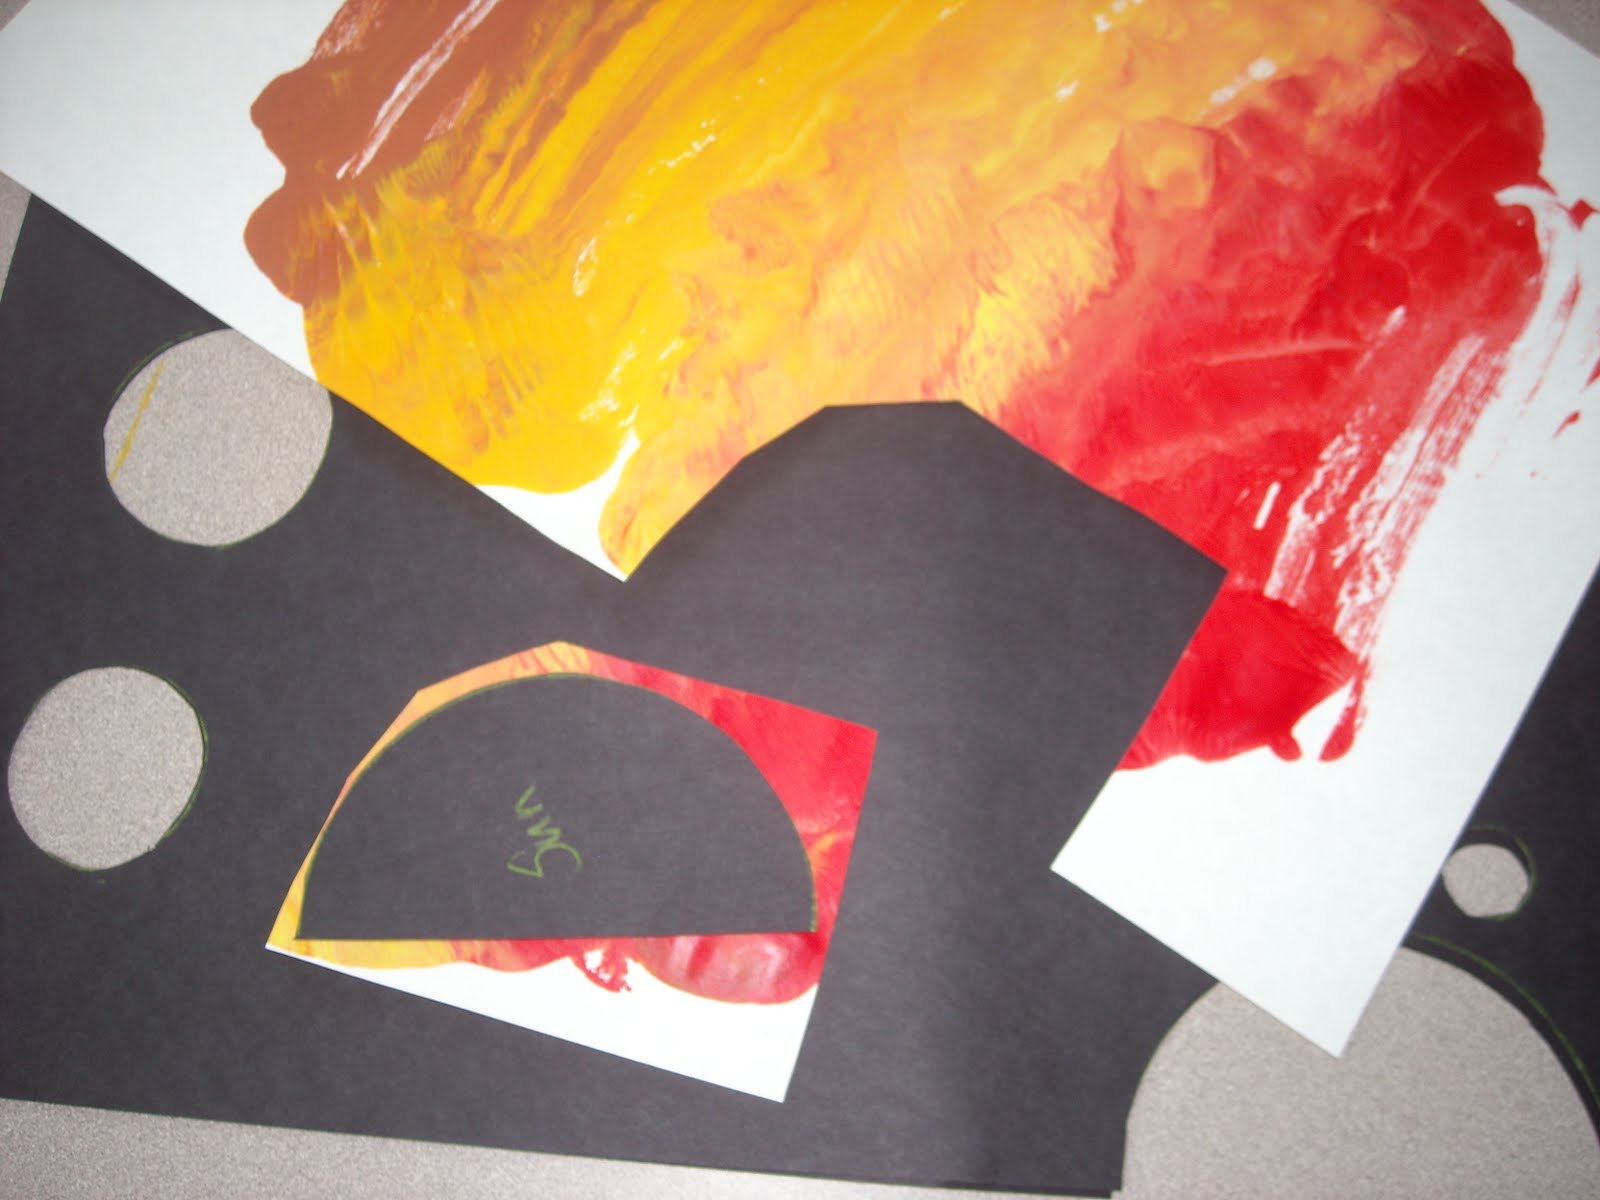
Take your planet cut outs and place them over areas of the paper to figure out how much to cut for the planet you are working on. You want to cut them much bigger so when you are placing your black paper over the top, it will create your planet.
On a sheet of white paper (mine is green because I used all my white playing with the paint!) and trace the planet locations on it. The painted planet paper cut outs need to cover the lines. Glue them in place. Use my example of color combinations to help create yours.
The final step is to glue the black sheet over the planets. I cut a ring out of more painted paper to finish off saturn. I thought it would look better. Our kids can't spell yet so we may have stickers with the planets names. They can then label each planet with a sticker. Older kids may write it themselves with white colored pencil.
Showing posts with label Planets. Show all posts
Tuesday, March 20, 2012
Planet Project part 1
There are a few steps to this project and can be used for any grade level. I will have to break it up to two posts so that it will all fit!
Items needed:
1 large sheet of heavy mylar
11 x 17 sheets of white and black construction paper
paint - blue, green, yellow, red and brown
exacto knife
yellow or white colored pencil
glue
scissors
Using your colored pencil, draw various sized circles on the paper to create the different planets. I found some pictures online of how they look size wise next to each other for a frame of reference.
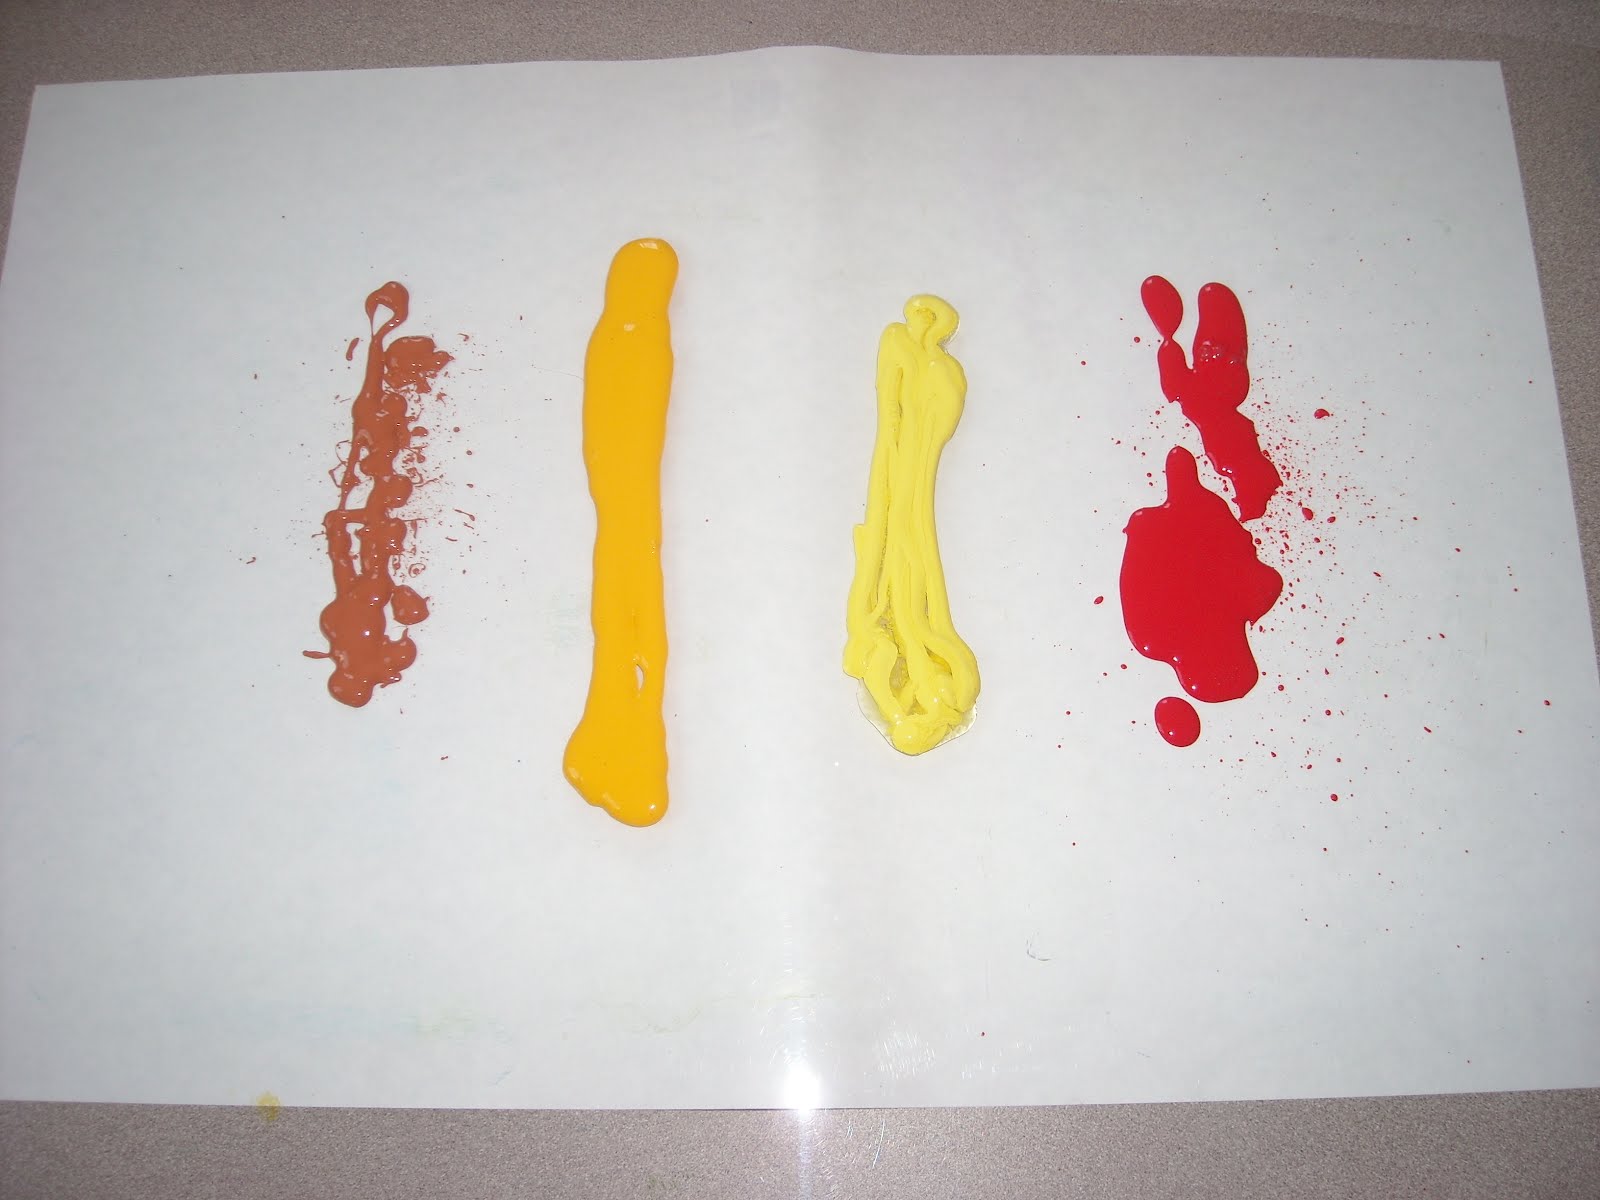
On your piece of mylar (or you can use plexiglass, or your table) squirt on green and blue paints. I had two different blues so decided to try both.
Smear the paint together in a back and forth motion. This will create waves or lines. Kids will not do it that way but we can always hope right! Not as important on the blue and green planets. You can use your hands to paint - as most kids love to do, or use a brush for those who hate getting paint on their hands!
Now place a sheet of white paper over the top of the paint to make a print. (This is a very fundamental way to screen print! And fun too!)
Slowly peel back the paper from the mylar.
You will have a print of what was on the mylar. Hang the paper to dry.
Do the exact same thing with the red, yellow and brown. Brown is for mercury and brown and yellow work for Saturn with a little red thrown in.
Make a print and hang up to dry.
Now you will have extra paint on the mylar, you can draw patterns in the paint, stamp it, use different materials to create all kinds of textures and pull more prints. We will do this for the kids and after they are dry we can use them in another project. Or you can cut up the colored paper into squares and create mosaic pictures using the different colors! Endless possibilities!
Items needed:
1 large sheet of heavy mylar
11 x 17 sheets of white and black construction paper
paint - blue, green, yellow, red and brown
exacto knife
yellow or white colored pencil
glue
scissors
Using your colored pencil, draw various sized circles on the paper to create the different planets. I found some pictures online of how they look size wise next to each other for a frame of reference.
On your piece of mylar (or you can use plexiglass, or your table) squirt on green and blue paints. I had two different blues so decided to try both.
Smear the paint together in a back and forth motion. This will create waves or lines. Kids will not do it that way but we can always hope right! Not as important on the blue and green planets. You can use your hands to paint - as most kids love to do, or use a brush for those who hate getting paint on their hands!
Now place a sheet of white paper over the top of the paint to make a print. (This is a very fundamental way to screen print! And fun too!)
Slowly peel back the paper from the mylar.
You will have a print of what was on the mylar. Hang the paper to dry.
Do the exact same thing with the red, yellow and brown. Brown is for mercury and brown and yellow work for Saturn with a little red thrown in.
Make a print and hang up to dry.
Now you will have extra paint on the mylar, you can draw patterns in the paint, stamp it, use different materials to create all kinds of textures and pull more prints. We will do this for the kids and after they are dry we can use them in another project. Or you can cut up the colored paper into squares and create mosaic pictures using the different colors! Endless possibilities!
Subscribe to:
Posts (Atom)