Showing posts with label paint. Show all posts

Tuesday, April 17, 2012

Life Cycle Butterfly Part 3

Wow life is getting crazy busy! Need to get our butterfly project going since they will be here soon! The third stage of the butterfly is the cocoon.

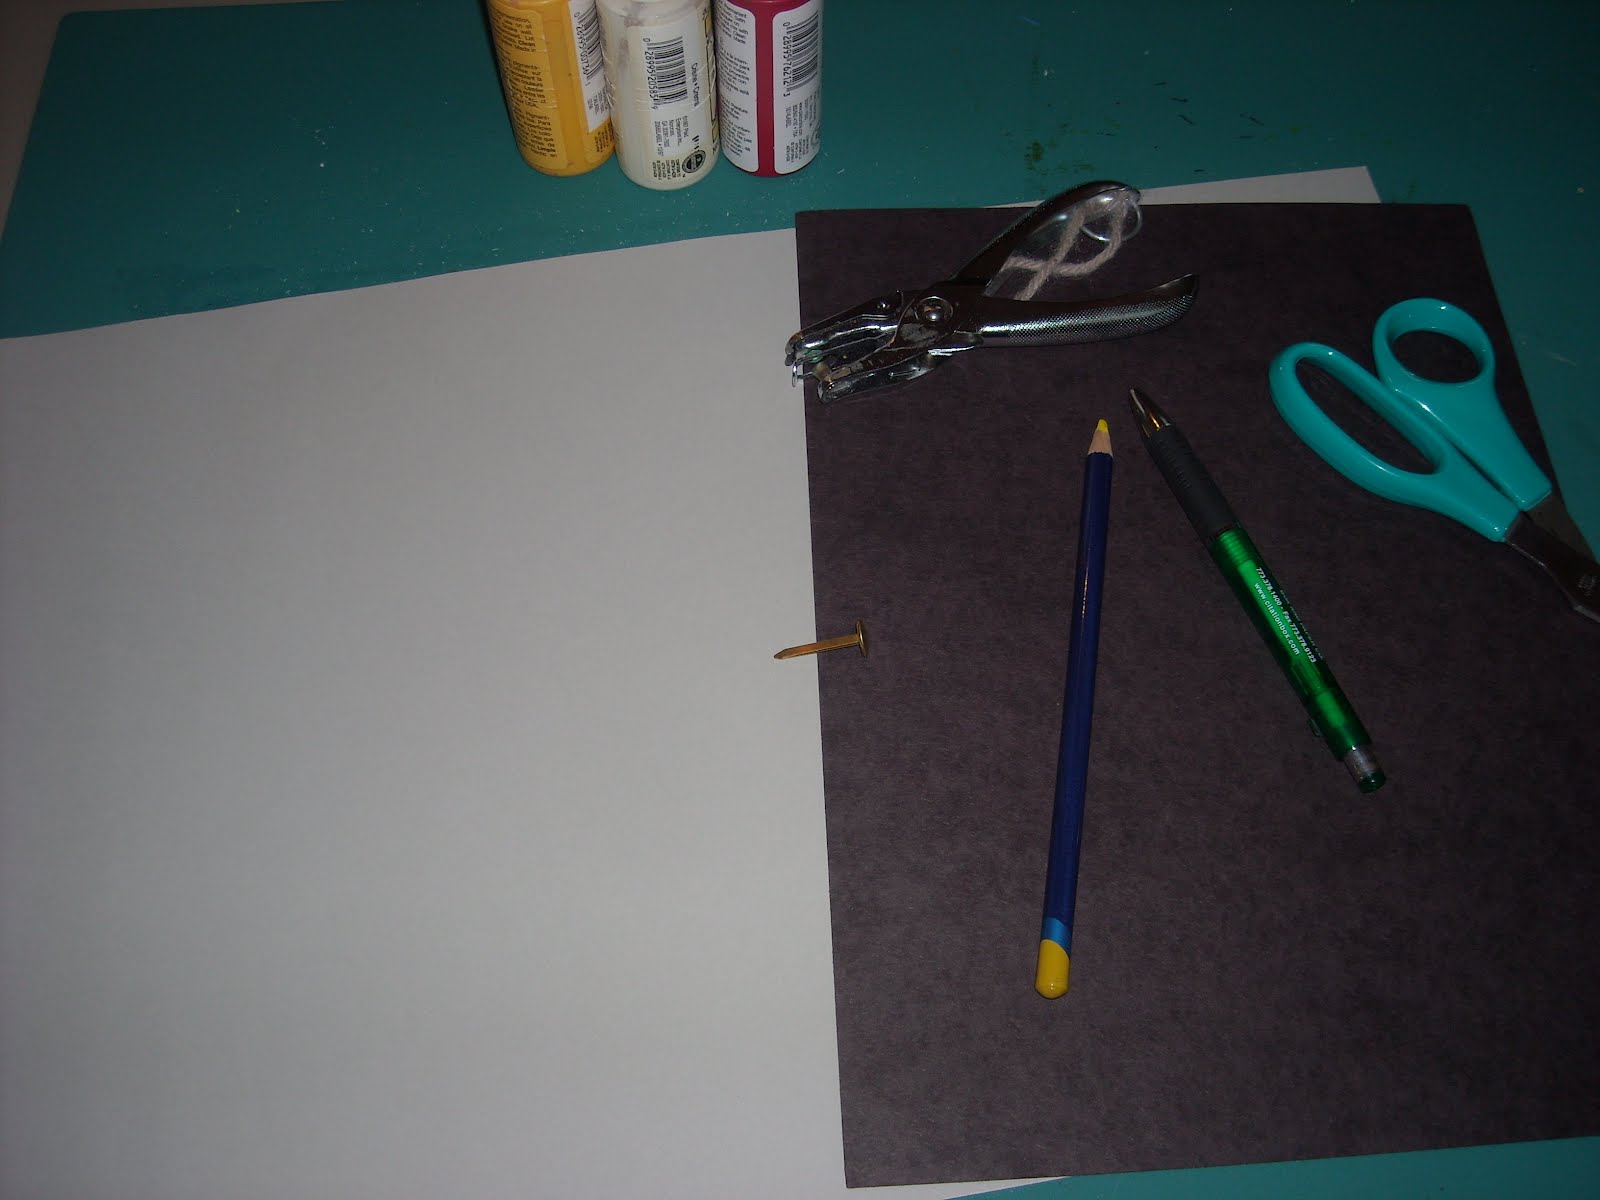
Materials:

1 11"x17" piece of light green construction paper (I used gray)
1 8.5"x11" piece of black construction paper
paint in red, yellow and white
pencil or colored pencil in white or yellow
brad
hole punch
scissors


First step is to draw a simple cocoon shape for your template. Bearing in mind preschoolers will be cutting this, I made it very simple. You will need to trace two of the light green and one of the black.


On the black sheet, you will want to draw shapes that look like the orange in a monarch butterfly's wings. If pencil doesn't show up on the black, then use a white or yellow colored pencil.


Now the fun part! Squirt a little bit of yellow and red onto a small plate. I used the bottom of a sour cream container. DON'T MIX!


Dip your finger into a little red and a little yellow and paint on the black paper inside your shapes. Mix the two colors as you go. Fill in each section. Don't worrk if the color is not consistent. That's what makes the piece interesting and individual like each butterfly.


Now add a little bit of white onto the tray. Dipping in a pinky finger for our size and a preschooler can use any finger, make little white dots around the bottom of the wing. Put to the side to dry. Acrylic paints dry pretty quickly unless the paint was applied very thickly!


Once the wing is dry, place a green cocoon, then the wing and finally the other green cocoon on top. Make sure they are all lined up (as close as you can if the scissors skills are not the best!) Punch a whole through all three pieces.


Place the brad through the three pieces and bend back to secure.


Your final piece should look like this. You can keep it closed and slowly open it as the butterfly starts to emerge.

Tuesday, March 20, 2012

Planet Project Part 2

Part two of our adventure is assembling the project once all the painted papers are dry. For our preschoolers, we will have to cut out the circles for them and the planet part. But older children can do this on their own.


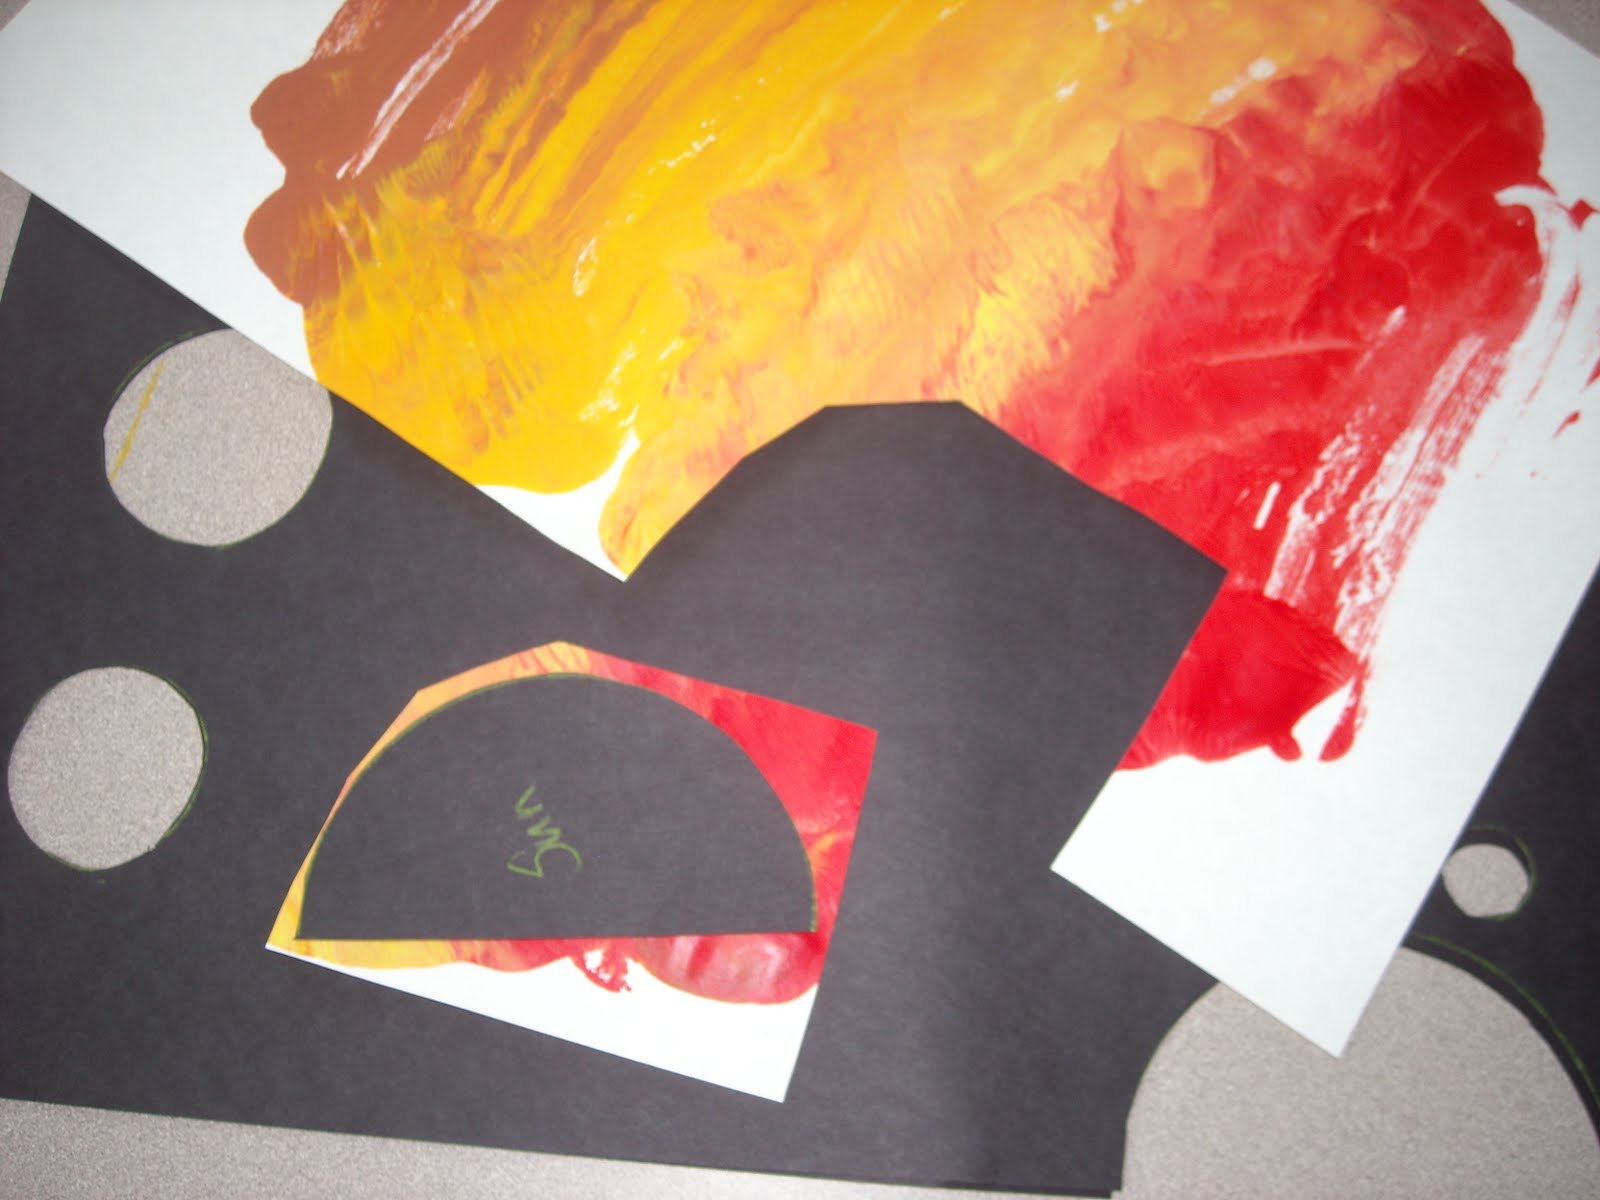
Step one is to cut out the black paper. I suggest cutting two. Then one can be used for your project and the other as a template for all the others. Save the cut outs to be used for planets.


Take your planet cut outs and place them over areas of the paper to figure out how much to cut for the planet you are working on. You want to cut them much bigger so when you are placing your black paper over the top, it will create your planet.


On a sheet of white paper (mine is green because I used all my white playing with the paint!) and trace the planet locations on it. The painted planet paper cut outs need to cover the lines. Glue them in place. Use my example of color combinations to help create yours.


The final step is to glue the black sheet over the planets. I cut a ring out of more painted paper to finish off saturn. I thought it would look better. Our kids can't spell yet so we may have stickers with the planets names. They can then label each planet with a sticker. Older kids may write it themselves with white colored pencil.

Planet Project part 1

There are a few steps to this project and can be used for any grade level. I will have to break it up to two posts so that it will all fit!


Items needed:
1 large sheet of heavy mylar
11 x 17 sheets of white and black construction paper
paint - blue, green, yellow, red and brown
exacto knife
yellow or white colored pencil
glue
scissors


Using your colored pencil, draw various sized circles on the paper to create the different planets. I found some pictures online of how they look size wise next to each other for a frame of reference.


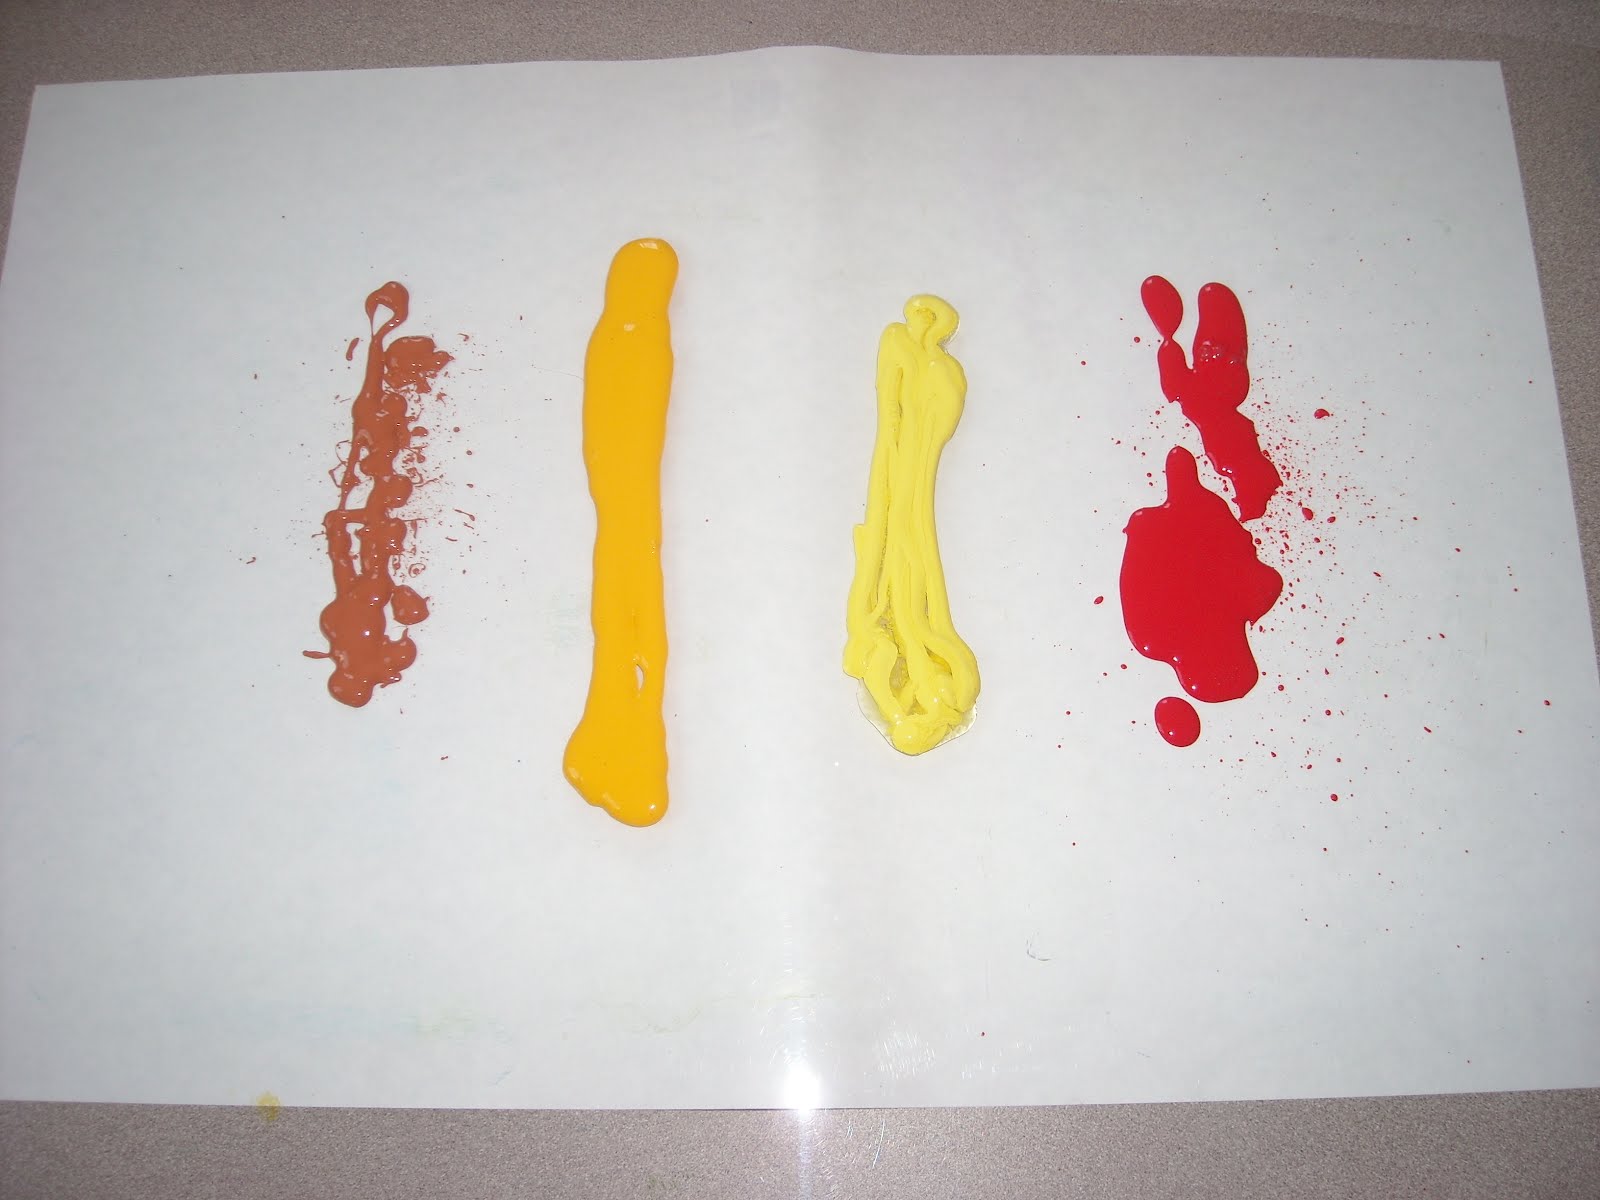
On your piece of mylar (or you can use plexiglass, or your table) squirt on green and blue paints. I had two different blues so decided to try both.


Smear the paint together in a back and forth motion. This will create waves or lines. Kids will not do it that way but we can always hope right! Not as important on the blue and green planets. You can use your hands to paint - as most kids love to do, or use a brush for those who hate getting paint on their hands!


Now place a sheet of white paper over the top of the paint to make a print. (This is a very fundamental way to screen print! And fun too!)


Slowly peel back the paper from the mylar.


You will have a print of what was on the mylar. Hang the paper to dry.


Do the exact same thing with the red, yellow and brown. Brown is for mercury and brown and yellow work for Saturn with a little red thrown in.


Make a print and hang up to dry.


Now you will have extra paint on the mylar, you can draw patterns in the paint, stamp it, use different materials to create all kinds of textures and pull more prints. We will do this for the kids and after they are dry we can use them in another project. Or you can cut up the colored paper into squares and create mosaic pictures using the different colors! Endless possibilities!

Saturday, March 10, 2012

Red Eyed Tree Frog

Reptile and amphibian weeks are in full force in the classroom! This little guy is just too darned cute not to include!

Items needed:
Large paper plate cut in half
Green Paint
Glue
Construction paper - red, black, yellow, green and orange
Scissors
pen or pencil

Getting started:


First step is to paint the paper plate. I used glossy green paint because I had it left over for a project. You can use green paint and add some glue to it to help make it shinier. Put it off to the side to dry.


Here is the cut outs for the frog. A solid green body is used and then yellow is cut to create the underbelly of the frog and create its mouth. The little hands really make the cuteness factor go up on this one!


Glue the yellow onto the green background. Then add the black eye centers to the red and glue onto the top of the frogs head.


Glue the frog to the back of the plate and glue the "hands" on top of the plate.


You can leave the plate as is I suppose but I had to take it one step further and cut notches out to create a leaf like appearance. I really love his "hands"!

Snakes and Shamrocks


Well we finished our snakes and the kids did an awesome job! We have a clothesline that runs across the room so we wrapped them around it and had them hanging up for all to see! This is a great project if you are doing anything in the reptile kingdom. Make a bunch of different types of snakes or additional reptiles and you have a habitat growing in your class room!


We have finished our shamrocks and added them to the bulletin board. Once the leprechauns are finished next week, we will place them around the board and add the pot 'o gold to complete the scene!

Tuesday, March 6, 2012

Reptiles and Amphibians - Turtle

Another creature from the reptile world (and my sons favorite) is the turtle! I was at the dollar store and found these styrofoam bowls and it clicked that we could use them to make the shell of a turtle.

Items needed:
1 small styrofoam bowl
yellow, and green construction paper
brown construction paper cut into small squares
brown paint
white glue
scissors
paintbrush

Getting started:

It is easier to assemble the bottom of the turtle first and then the shell. So I started out by tracing the body in yellow using the bowl.


After cutting it out, I attached the head and feet. (I managed to forget something very important. Can you guess? Put the body off to the side to dry.


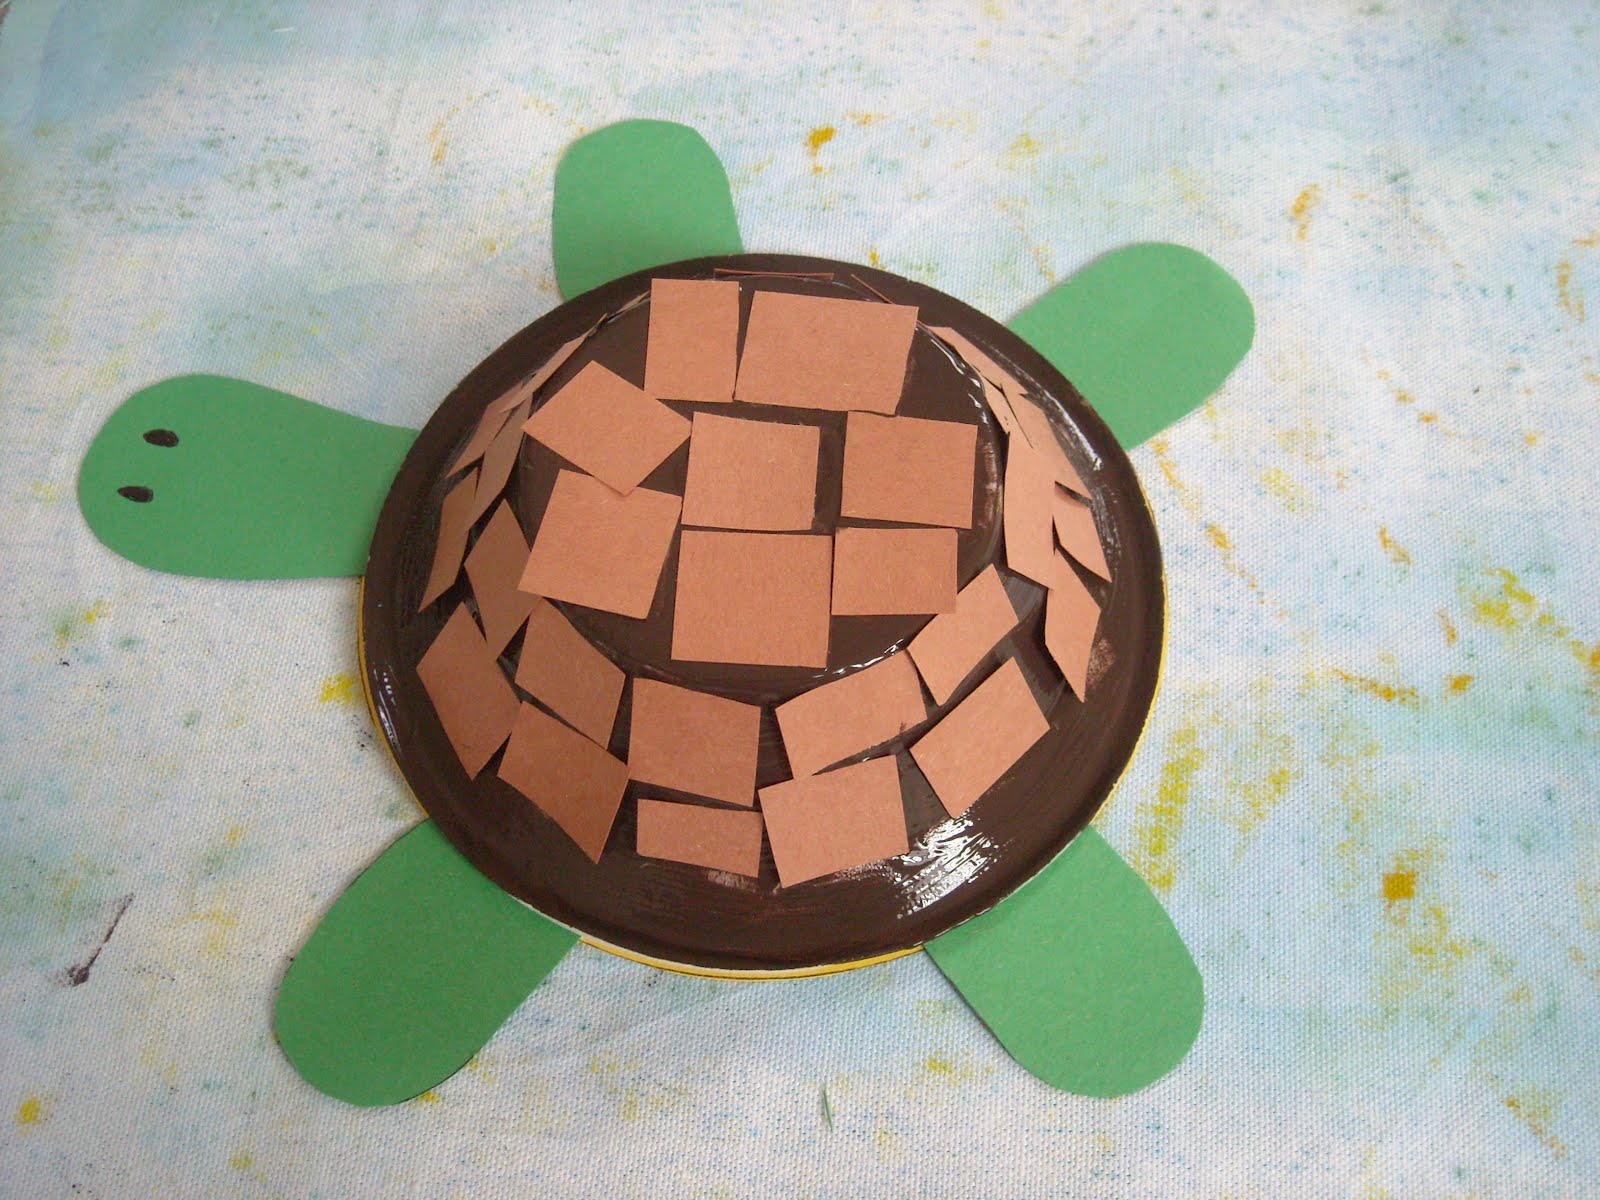
The next step was to add glue to the brown paint and mix together. I wanted to be able to paint and glue in one step. After paint is mixed, cover the entire bowl with the brown paint. Add the brown paper squares around the sides and then the top.


The final step is the glue the shell to the body. I ran a ring of glue around the outside of the yellow body and placed the shell on top. It may help to let the paint dry first so there is no smearing.


Draw a couple eyeballs on or used googly eyes! It was at this point I realized I was missing something. Did you guess? His tail!

Reptiles and Amphibians - Snake

I was sick of doing the paper plate snake and found a huge stash of paper towel rolls in the closet. Looking at the curving line going around, gave me an idea for our project.

Items needed:

1 paper towel tube
green paint
yellow paint
red construction paper
2 googly eyes - medium sized
scissors
glue
paintbrush

Getting started:


I added some green paint and some yellow paint into a container without mixing. The kids love to combine paint colors. (I do too!) After the tube is done painting, I set it up on end to dry. If you have small bottles of paint, you can put the tube over it to help it stand up straight until dry.


After letting the tubes dry overnight, the kids cut out the tongue and then glue it on the snake. They also add the eyes with glue.


The final step is to cut the paper roll in a spiral. This will be difficult for preschoolers, but older and more experienced scissor cutters can do it themselves. I did this one kind of fat. You can cut it as wide or narrow as you want, but stop about two inches from the top so you still have a head!

Hibernating Bear - Update

I finally had a chance to take a picture of our big hibernating bear. I needed to do it quickly since we would be taking him down to make way for a next group of projects.
We had the kids paint large pieces of white butcher paper in brown, blue and black. After it was thoroughly dry, I cut out the cave shape (had to piece some parts together) and made the cave. The remainder of the paper was wadded up to make little boulders, and rocks.


To create the bear, I let the kids loose on white paper with brown paint. When that was dry, I sketched out a bear based on the Bear is Snoring book, added ears, eyes, nose and claws. I asked our parent helper to tape Mr. Bear onto the cave. There was a bit of a language barrier issue so she taped it on but didn't hide the tape. Whoops! My fault. Should have done a visual. Still turned out cute though.

Monday, February 27, 2012

St. Patty's Day Leprechaun

St. Patrick's Day needs a little leprechaun. I designed this for our preschoolers to create in the next few weeks. These projects also help to transition our classroom from hibernation into spring!

Items needed:
small paper plate
flesh colored paint (or make your own with white and a small amount of red and yellow)
paint brush
construction paper in green, black, orange, red and brown or pink (for ears)
medium googly eyes
glue


First we start out by painting the back of the plate. It's easier to glue everything on to the back than to the front. Put it off to the side to dry. (We will have the kids paint their plates on one day and glue another.


Cut out the different parts to the leprechaun. I started by gluing on the eyebrows and the beard.


Then glue on the ears, feet, hat and band. The eyes are glued on last. The kids will have their own version of your sample and it will not match. And that's okay. They are learning to follow instructions and expressing their creative self. That's the main goal! After we do this project, I will take pictures and show the various "interpretations!" (I had more pictures of step by step but they vanished off the camera!)

Tuesday, February 21, 2012

Shamrock Wreath

Well we will be heading into March pretty soon and that means St. Patrick's Day! So I decided to get a jump on our projects while I had some free time. Today's post is a Shamrock Wreath. The kids can make this and take it home to hang on their doors! I still need to add the string for hanging but it is still drying.

Items needed:
1 large paper plate with the center cut out
brown paint
shamrocks in two different colors (we have a die cutting machine at work so I cheated!) I used 5 for this project
yellow construction paper (if not using foil)
glue
scissors

if using foil -
gold foil glued to any color paper
silver foil and color with yellow markers after gluing to paper
you can also use metallic paint in gold


Start by having the kids paint the entire backside of the plate in brown. (It's easier to glue everything on this side) Put off to the side and let to dry. We will have the kids paint this when they first get to class so we have time for it to dry before art.


I painted a thin layer of gel medium onto the paper (my glue bottle was mad at me so I had to improvise) and then I laid the gold foil on top. (My husband works at a printing company and brought this small roll home that was unusable by them) Run the side of your hand across to smooth it out and remove any air bubbles.


As you can see, because the paper is thin, it curls up when finished gluing. Lay the sheet face down and put something heavy on top to flatten it. After about five minutes, it is okay to start cutting. Using sharp scissors helps too. I used a spool of thread to trace the circles. Tracing on the backside makes it much easier to see when cutting. We don't have a die that small so it's by hand for me.


Here are some of the shamrocks made on the diecut machine. I think it is by AccuDie but not sure. Don't look too closely at the shamrocks as I didn't have the paper completely covered on the die and chopped off small pieces. I decided to use those for my class sample and let the kids use the nice ones. I am such a good person ;) Glue each one down, alternating between the two colors and overlapping slightly.


To finish this off, I glued gold circles (coins) around the wreath. I made a small black pot for the "pot o' gold" and glued a couple coins to the back. I then glued the pot onto the bottom of the wreath. To finish this off, I will hole punch at the top and run string through for hanging. Happy early St. Patrick's Day to you!