Showing posts with label reptile. Show all posts

Saturday, March 10, 2012

Iguana

As part of the reptile grouping, we will be making an iguana. This one is more complicated and can be used by many ages. The kids in our class will cut out the body (hope they get to keep the tail!) and we will cut the legs. Older kids with better cutting skills can cut their own feet.

Items needed:
Ink stampers in green, yellow, violet, brown
brown and green construction paper
tissue paper in green or brown
pen or pencil for tracing
scissors
glue
1 medium googly eye

Getting started:


I have drawn a pretty easy body shape on a large sheet of construction paper and keeping fingers crossed the tails aren't completely cut off!
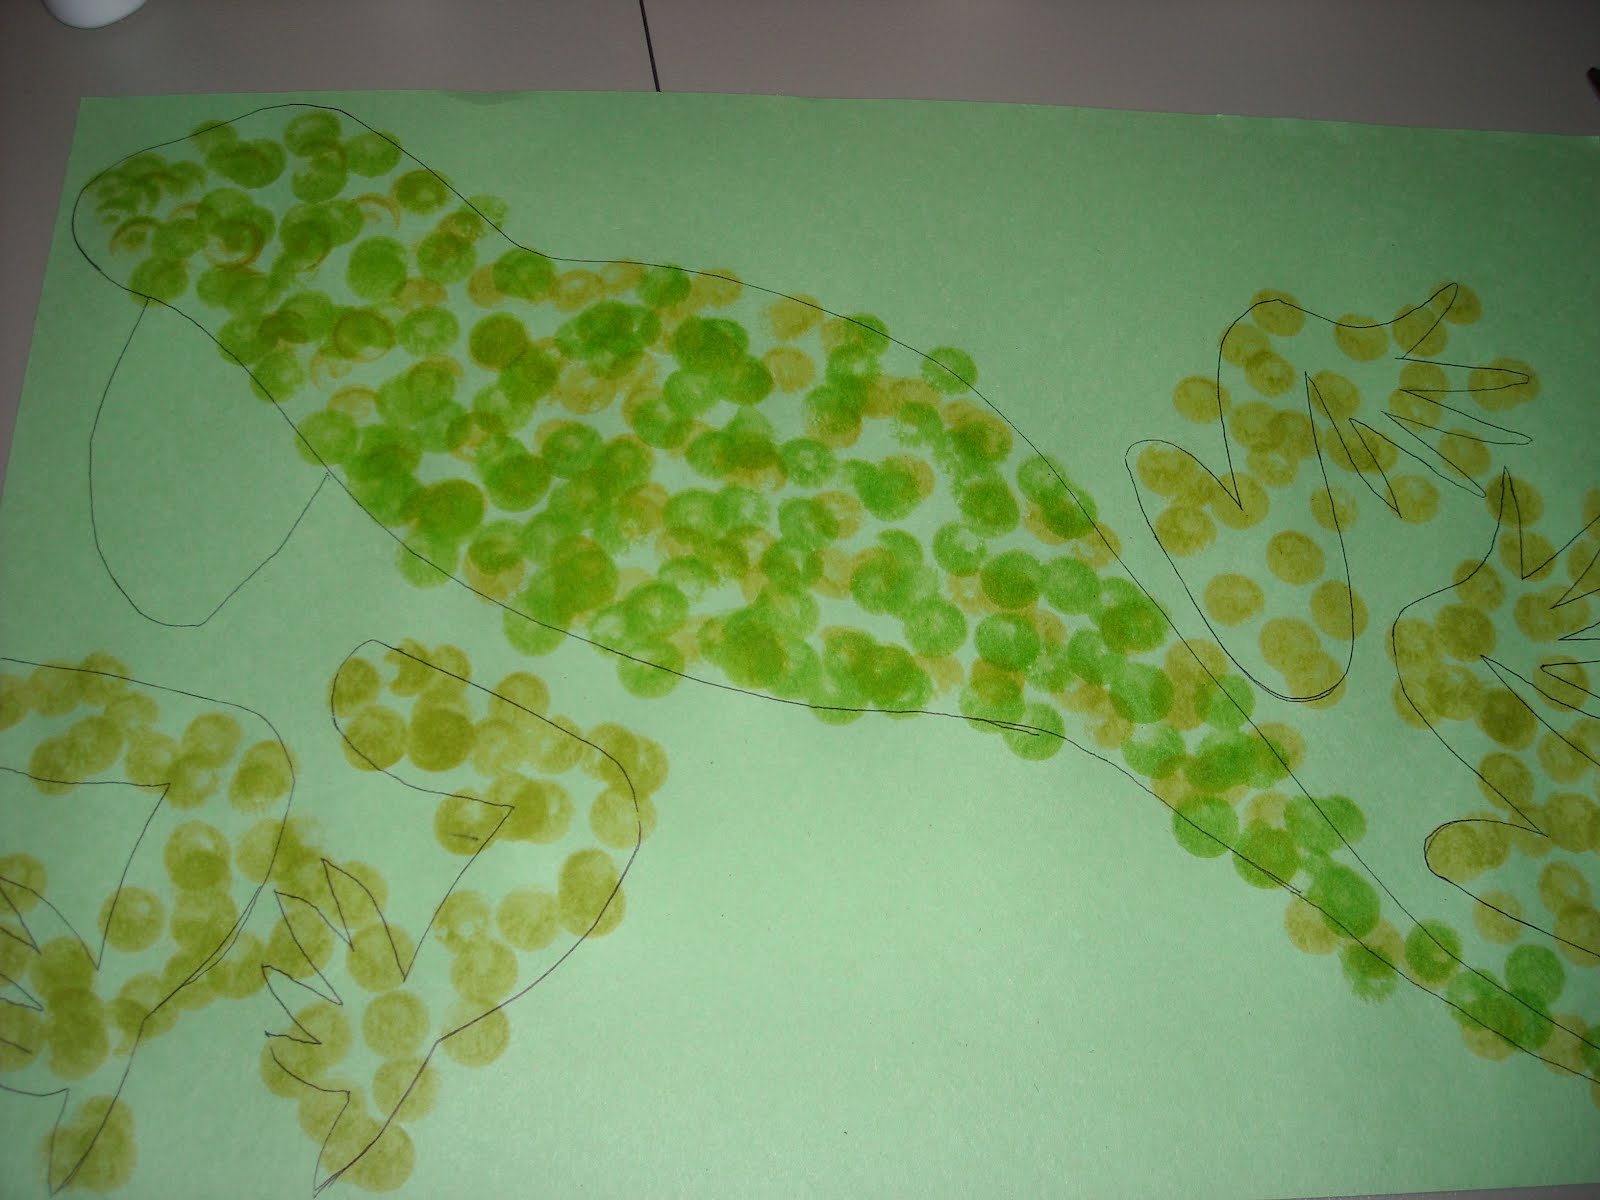

The first step is to stamp the body. It is easier to stamp before the cutting. Here I have stamped green first and then the yellow.


Next step is to stamp the brown and the violet. The colors go on dark but turn much lighter when dry. The inks dry pretty quickly.


Once dry, the kids will cut out the body. Adults will cut out the legs. I am planning on having the kids stamp this in the morning and get the legs cut before art time. In art class, they will assemble the iguana.


The legs are assembled with two on the backside and two on the front. I love their interpretations! The spiky back was created with the diecut machine at the main office. It is the grass border stamp. But you can create your own using pinking shears or any scissors that have the jagged edge. If those are not available, then just create an exaggerated jagged edge and use that instead.


Take a small square of tissue paper, I used green but brown would also work. Fold it to create lines. That's the goal but kids have their own ideas and that is fine too!


Glue the tissue to the piece under the neck.


Add the googly eye and hang up when dry! I am thinking of creating a large tree branch for these little guys to walk on! Can't wait to see what they create!

Snakes and Shamrocks


Well we finished our snakes and the kids did an awesome job! We have a clothesline that runs across the room so we wrapped them around it and had them hanging up for all to see! This is a great project if you are doing anything in the reptile kingdom. Make a bunch of different types of snakes or additional reptiles and you have a habitat growing in your class room!


We have finished our shamrocks and added them to the bulletin board. Once the leprechauns are finished next week, we will place them around the board and add the pot 'o gold to complete the scene!

Tuesday, March 6, 2012

Reptiles and Amphibians - Turtle

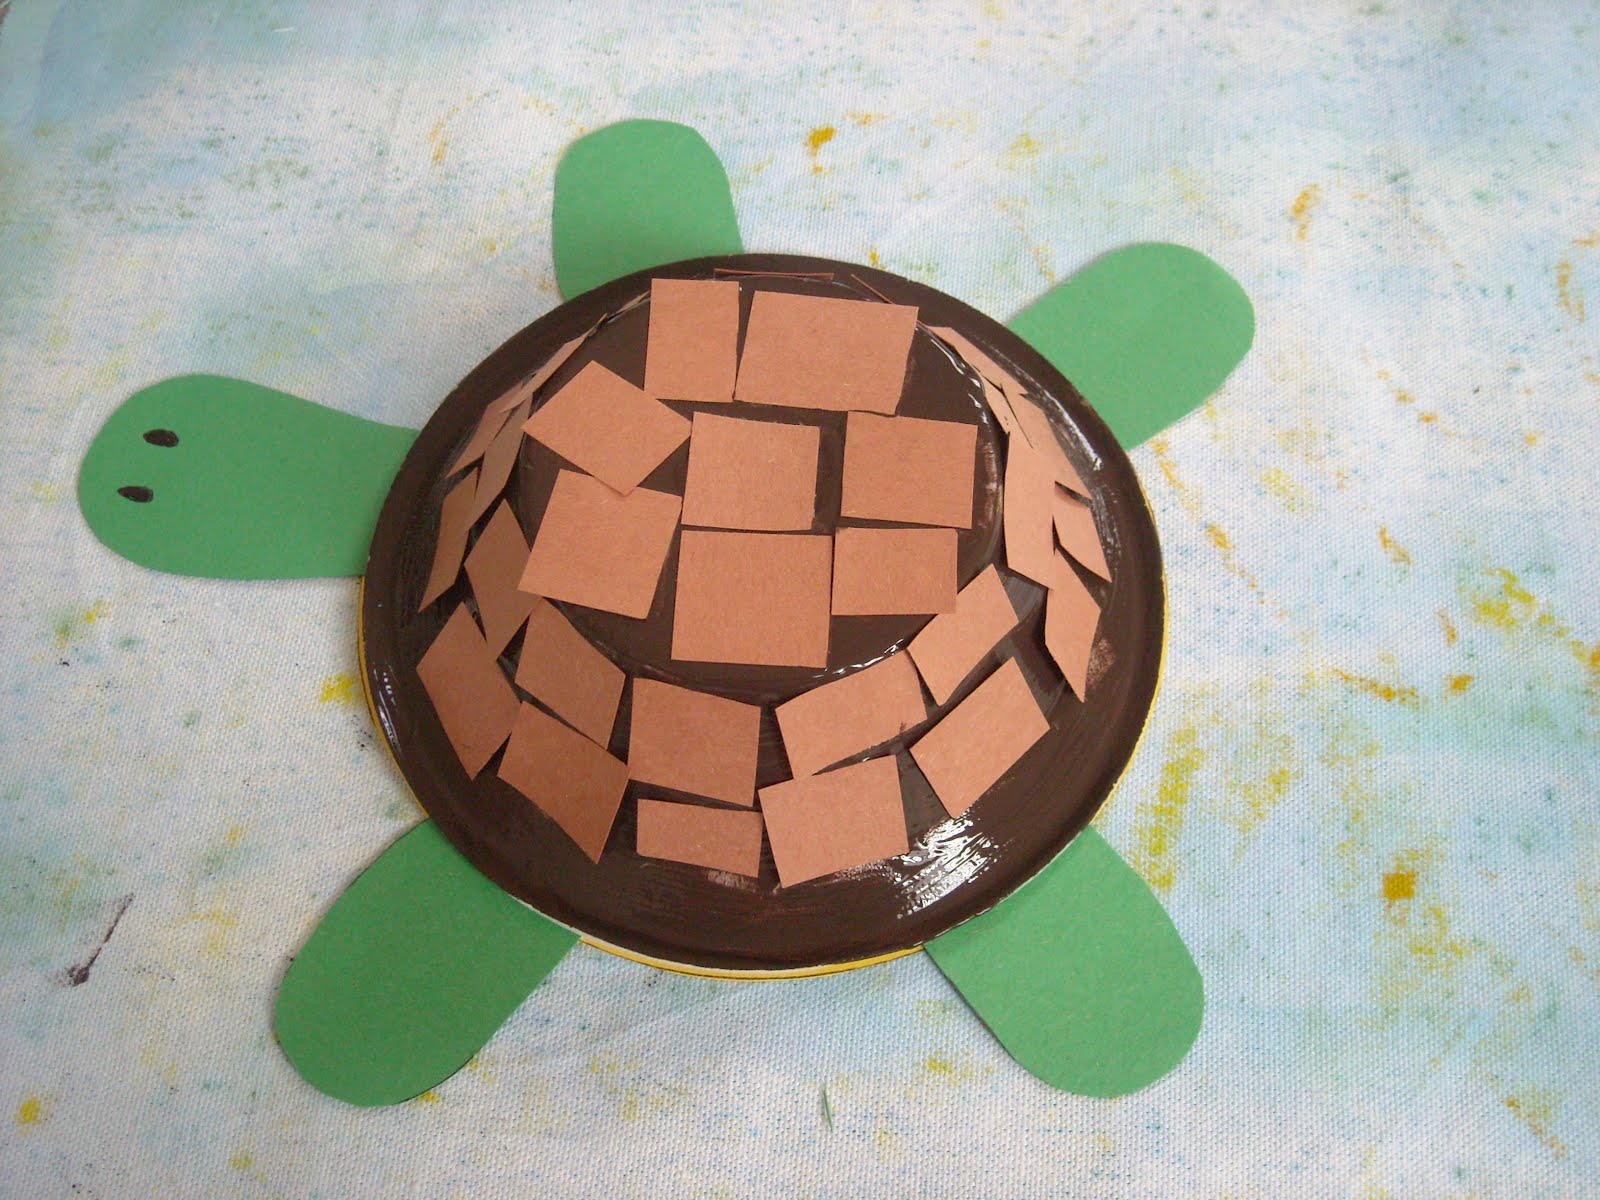
Another creature from the reptile world (and my sons favorite) is the turtle! I was at the dollar store and found these styrofoam bowls and it clicked that we could use them to make the shell of a turtle.

Items needed:
1 small styrofoam bowl
yellow, and green construction paper
brown construction paper cut into small squares
brown paint
white glue
scissors
paintbrush

Getting started:

It is easier to assemble the bottom of the turtle first and then the shell. So I started out by tracing the body in yellow using the bowl.


After cutting it out, I attached the head and feet. (I managed to forget something very important. Can you guess? Put the body off to the side to dry.


The next step was to add glue to the brown paint and mix together. I wanted to be able to paint and glue in one step. After paint is mixed, cover the entire bowl with the brown paint. Add the brown paper squares around the sides and then the top.


The final step is the glue the shell to the body. I ran a ring of glue around the outside of the yellow body and placed the shell on top. It may help to let the paint dry first so there is no smearing.


Draw a couple eyeballs on or used googly eyes! It was at this point I realized I was missing something. Did you guess? His tail!

Reptiles and Amphibians - Snake

I was sick of doing the paper plate snake and found a huge stash of paper towel rolls in the closet. Looking at the curving line going around, gave me an idea for our project.

Items needed:

1 paper towel tube
green paint
yellow paint
red construction paper
2 googly eyes - medium sized
scissors
glue
paintbrush

Getting started:


I added some green paint and some yellow paint into a container without mixing. The kids love to combine paint colors. (I do too!) After the tube is done painting, I set it up on end to dry. If you have small bottles of paint, you can put the tube over it to help it stand up straight until dry.


After letting the tubes dry overnight, the kids cut out the tongue and then glue it on the snake. They also add the eyes with glue.


The final step is to cut the paper roll in a spiral. This will be difficult for preschoolers, but older and more experienced scissor cutters can do it themselves. I did this one kind of fat. You can cut it as wide or narrow as you want, but stop about two inches from the top so you still have a head!