Finally the butterfly has emerged from the cocoon to flash it's brilliance to the world!
Materials:
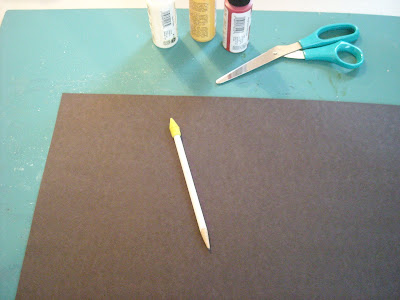
11"x17" construction paper in white and black
paint in yellow, red and white
pencil
scissors
small paint brush, or fingers, q-tip etc.
First thing you want to do is create a template. If you are doing this for a class, you must do the template. It's easier to draw one half and cut it out so that it is the same on each side! Fold your sheet of white paper in half and sketch one side of the butterfly. Cut along the lines and open up.
Placing your template on top of the black paper, trace the butterfly in pencil or white or yellow colored pencil so it is easier to see the lines. If you are really ambitious, you can do the inside of the wings and cut out so that it can be traced also. Then each child will have the same butterfly pattern. Cut out the butterfly.
Draw in the pattern of the butterfly wing using a pencil. Do not go all the way to the edge as we have to add white in along the borders.
We will paint in the same style as stage three but since it is larger, we can use a small brush. If you want to use your fingers, have fun! Some kids hate getting paint on their hands and that's fine. If you don't have brushes, get creative and use q-tips or whatever else you have lying around. Load the brush with some yellow and some red. Paint onto the black and blend together on the paper. This will give you a varied orange look and make it more organic. (NOTE: IF YOU WANT BRIGHT ORANGE SPOTS, PAINT WHITE IN ALL THE SHAPES FIRST. LET DRY AND THEN PAINT THE YELLOW AND ORANGE ON TOP)
Once the orange parts are done, squirt a little white onto your tray. Dip a small finger in and dab white dots around the outside edge of the butterfly wings. Again, each butterfly is different so encourage the creativity. Enjoy!


No comments:
Post a Comment