Monday, April 30, 2012

Sketch to Stuffed

Working at a preschool, I see some of the cutest drawings. Kids have a real imagination! This is definitely not a preschool project but may be fun for more of the middle schoolers. One of the little girls in our class brought in a drawing she had made at home and wanted us to hang it up. When I asked if it was for me, she immediately said no it was for Miss Keri! She is such a stinker! LOL

Here is her original drawing
Well I thought it would be such a cute idea to take it and make it into a stuffed version of her drawing. Making it come to life in a way.

Finished piece
I had to take some liberties with color since her drawing was in black and white. I used red felt for the body, purple yarn for the hair, black fabric fused on for the eyeballs. I hand sewed the eyes in place and embroidered the eyelashes and the mouth. The final touch was to add the white parts of the eyes using white fabric paint. I stuffed it and sewed it shut.

Side by side comparison
I have to say that this was a very fun project to do and now I have to go dig up some of my daughters drawings so that I can convert them to fabric!

Tuesday, April 17, 2012

Life Cycle Butterfly Part 4

Finally the butterfly has emerged from the cocoon to flash it's brilliance to the world!

Materials:


11"x17" construction paper in white and black
paint in yellow, red and white
pencil
scissors
small paint brush, or fingers, q-tip etc.


First thing you want to do is create a template. If you are doing this for a class, you must do the template. It's easier to draw one half and cut it out so that it is the same on each side! Fold your sheet of white paper in half and sketch one side of the butterfly. Cut along the lines and open up.


Placing your template on top of the black paper, trace the butterfly in pencil or white or yellow colored pencil so it is easier to see the lines. If you are really ambitious, you can do the inside of the wings and cut out so that it can be traced also. Then each child will have the same butterfly pattern. Cut out the butterfly.


Draw in the pattern of the butterfly wing using a pencil. Do not go all the way to the edge as we have to add white in along the borders.


We will paint in the same style as stage three but since it is larger, we can use a small brush. If you want to use your fingers, have fun! Some kids hate getting paint on their hands and that's fine. If you don't have brushes, get creative and use q-tips or whatever else you have lying around. Load the brush with some yellow and some red. Paint onto the black and blend together on the paper. This will give you a varied orange look and make it more organic. (NOTE: IF YOU WANT BRIGHT ORANGE SPOTS, PAINT WHITE IN ALL THE SHAPES FIRST. LET DRY AND THEN PAINT THE YELLOW AND ORANGE ON TOP)


Once the orange parts are done, squirt a little white onto your tray. Dip a small finger in and dab white dots around the outside edge of the butterfly wings. Again, each butterfly is different so encourage the creativity. Enjoy!

Life Cycle Butterfly Part 3

Wow life is getting crazy busy! Need to get our butterfly project going since they will be here soon! The third stage of the butterfly is the cocoon.

Materials:

1 11"x17" piece of light green construction paper (I used gray)
1 8.5"x11" piece of black construction paper
paint in red, yellow and white
pencil or colored pencil in white or yellow
brad
hole punch
scissors


First step is to draw a simple cocoon shape for your template. Bearing in mind preschoolers will be cutting this, I made it very simple. You will need to trace two of the light green and one of the black.


On the black sheet, you will want to draw shapes that look like the orange in a monarch butterfly's wings. If pencil doesn't show up on the black, then use a white or yellow colored pencil.


Now the fun part! Squirt a little bit of yellow and red onto a small plate. I used the bottom of a sour cream container. DON'T MIX!


Dip your finger into a little red and a little yellow and paint on the black paper inside your shapes. Mix the two colors as you go. Fill in each section. Don't worrk if the color is not consistent. That's what makes the piece interesting and individual like each butterfly.


Now add a little bit of white onto the tray. Dipping in a pinky finger for our size and a preschooler can use any finger, make little white dots around the bottom of the wing. Put to the side to dry. Acrylic paints dry pretty quickly unless the paint was applied very thickly!


Once the wing is dry, place a green cocoon, then the wing and finally the other green cocoon on top. Make sure they are all lined up (as close as you can if the scissors skills are not the best!) Punch a whole through all three pieces.


Place the brad through the three pieces and bend back to secure.


Your final piece should look like this. You can keep it closed and slowly open it as the butterfly starts to emerge.

Friday, April 6, 2012

Life Cycle Butterfly Part 2

So step two in the life cycle of a butterfly is the hatching of the egg into a caterpillar.

Materials needed:

1 each of green and white construction paper
pen
markers in black and yellow
scissors
hole punch
glue


Draw a simple caterpillar shape onto the white paper, making sure that it is smaller than the leaf otherwise it will hang off the edges.


Cut out your caterpillar. Draw irregular width lines across the body.


Taking your yellow and black markers, alternate coloring each stripe in black and yellow but leaving some white. You can glue a googly eye onto the caterpillar for a little more fun.


Glue the caterpillar onto the leaf.


When the eggs hatch, they eat the leaf. Take your hole punch and make a bunch of holes to simulate the leaf being eaten!

Life Cycle Butterfly Part 1

There will be 4 parts to this project. This first part is the start of the cycle with the eggs being laid on the leaves.

Materials Needed:

1 piece 11" x 17" green construction paper
glue
pen
green marker
scissors
tissue paper in white, yellow or light green


Fold the paper in half and then freehand draw a large leaf onto the paper. You will need a leaf for this part and for part two so I will cut both at the same time and save time and energy.


Cut out two leaves and place one off to the side. I folded the leaf in half lengthwise to make it a little more realistic.


Take your green marker and draw the leaf veins all over the leaf.


The final step is to take small squares of tissue paper and crumble them up into little balls. I used cheap, thin paper but harder to glue. Tissue paper is much easier to use and glue. Take the little balls "eggs" and glue them onto the leaf.

Tuesday, March 20, 2012

Planet Project Part 2

Part two of our adventure is assembling the project once all the painted papers are dry. For our preschoolers, we will have to cut out the circles for them and the planet part. But older children can do this on their own.


Step one is to cut out the black paper. I suggest cutting two. Then one can be used for your project and the other as a template for all the others. Save the cut outs to be used for planets.


Take your planet cut outs and place them over areas of the paper to figure out how much to cut for the planet you are working on. You want to cut them much bigger so when you are placing your black paper over the top, it will create your planet.


On a sheet of white paper (mine is green because I used all my white playing with the paint!) and trace the planet locations on it. The painted planet paper cut outs need to cover the lines. Glue them in place. Use my example of color combinations to help create yours.


The final step is to glue the black sheet over the planets. I cut a ring out of more painted paper to finish off saturn. I thought it would look better. Our kids can't spell yet so we may have stickers with the planets names. They can then label each planet with a sticker. Older kids may write it themselves with white colored pencil.

Planet Project part 1

There are a few steps to this project and can be used for any grade level. I will have to break it up to two posts so that it will all fit!
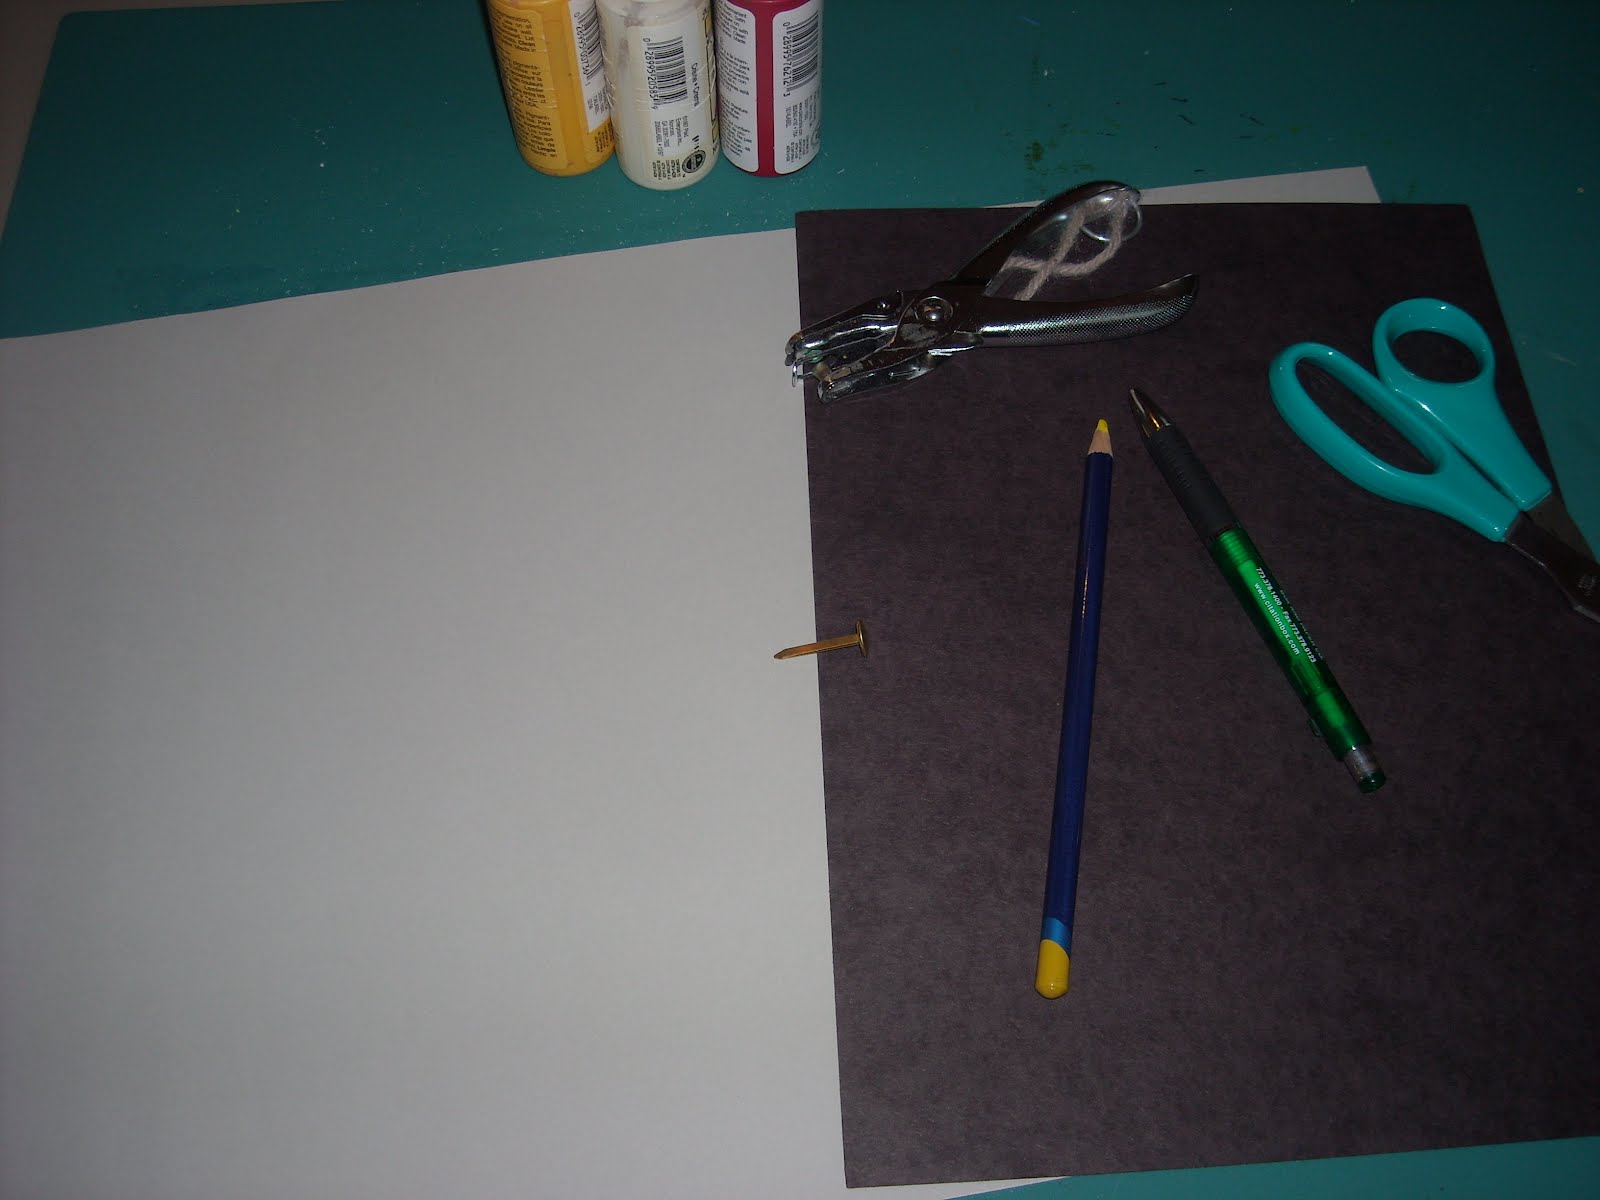

Items needed:
1 large sheet of heavy mylar
11 x 17 sheets of white and black construction paper
paint - blue, green, yellow, red and brown
exacto knife
yellow or white colored pencil
glue
scissors


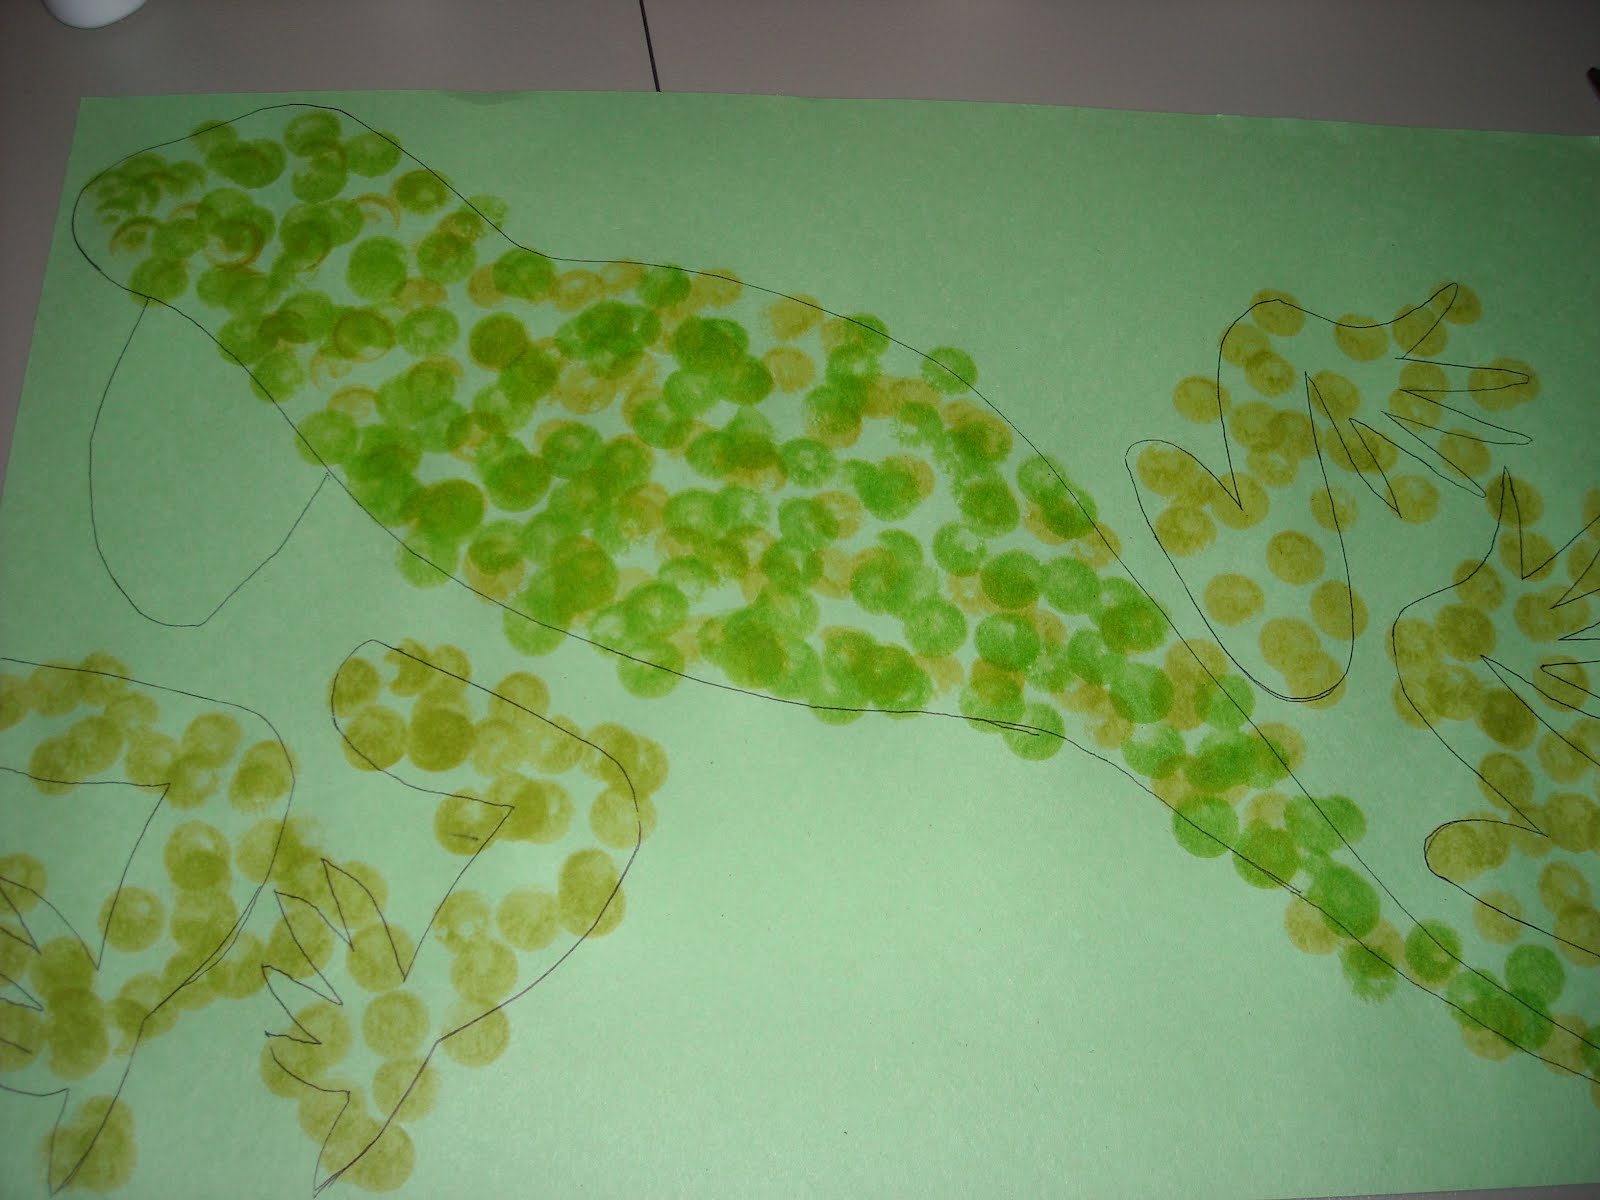
Using your colored pencil, draw various sized circles on the paper to create the different planets. I found some pictures online of how they look size wise next to each other for a frame of reference.


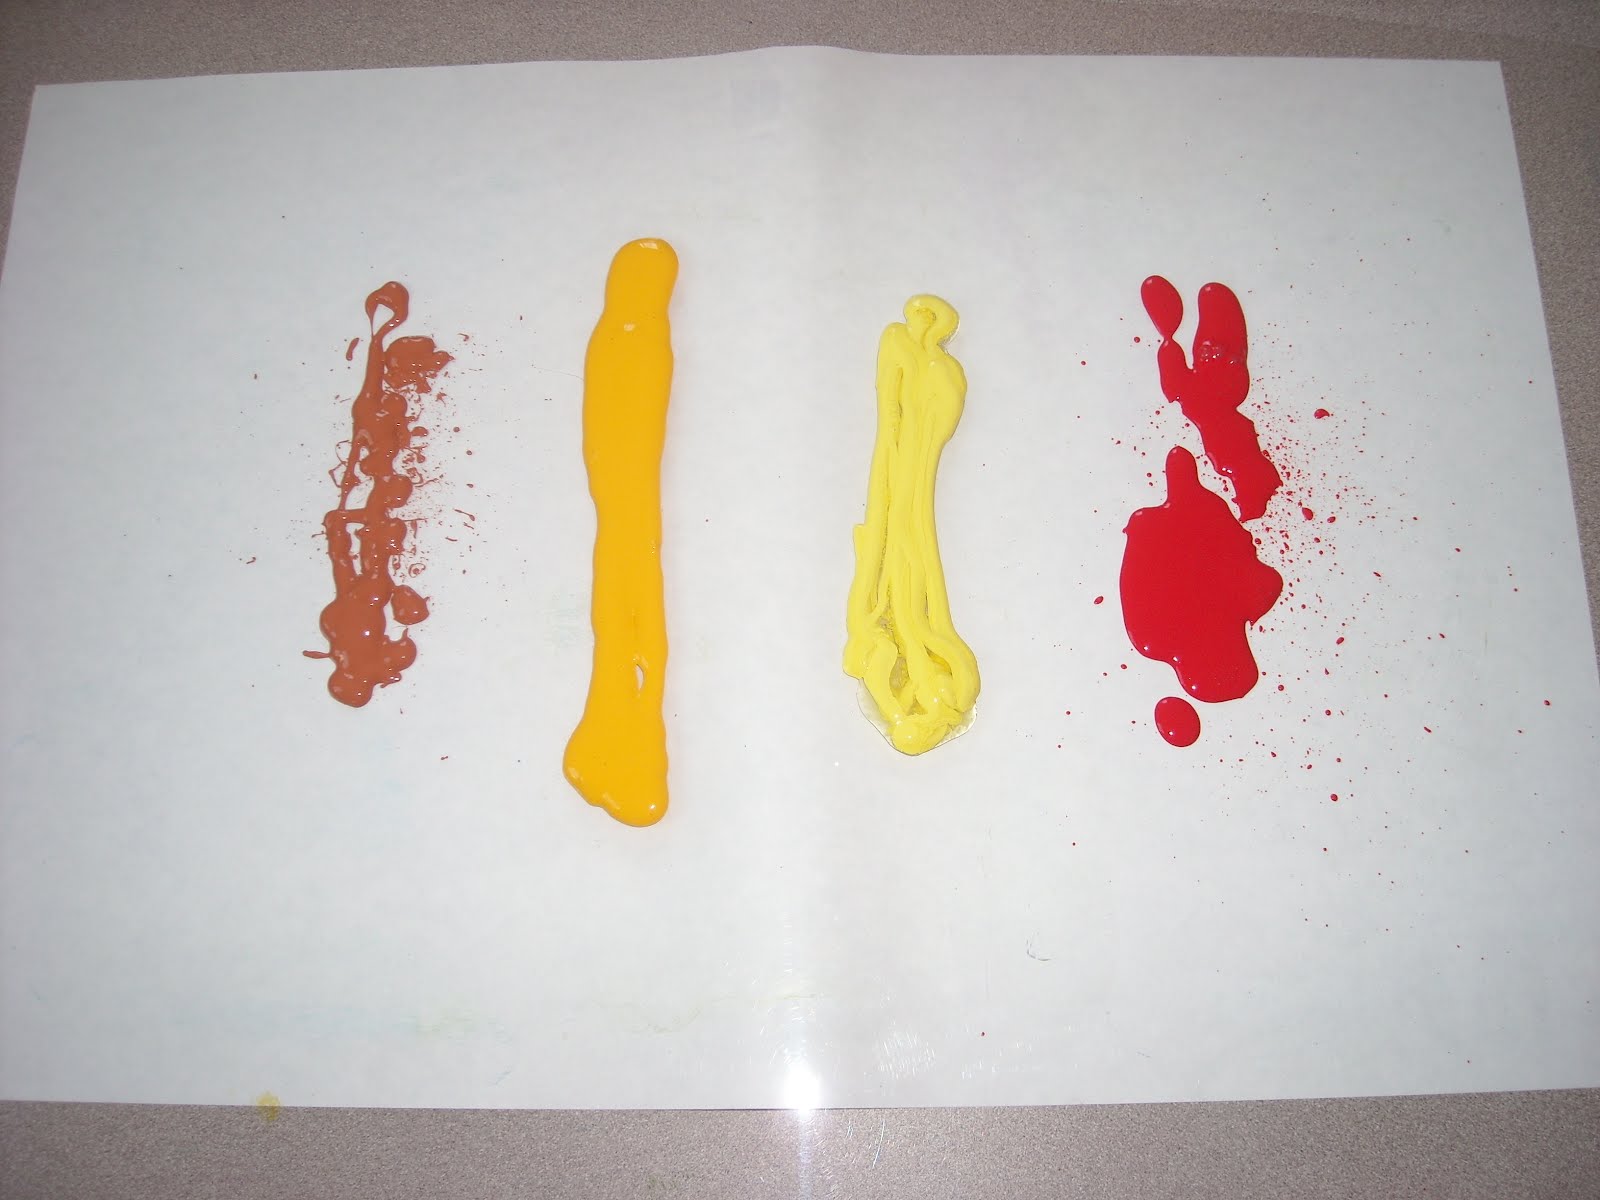
On your piece of mylar (or you can use plexiglass, or your table) squirt on green and blue paints. I had two different blues so decided to try both.


Smear the paint together in a back and forth motion. This will create waves or lines. Kids will not do it that way but we can always hope right! Not as important on the blue and green planets. You can use your hands to paint - as most kids love to do, or use a brush for those who hate getting paint on their hands!


Now place a sheet of white paper over the top of the paint to make a print. (This is a very fundamental way to screen print! And fun too!)


Slowly peel back the paper from the mylar.


You will have a print of what was on the mylar. Hang the paper to dry.


Do the exact same thing with the red, yellow and brown. Brown is for mercury and brown and yellow work for Saturn with a little red thrown in.


Make a print and hang up to dry.


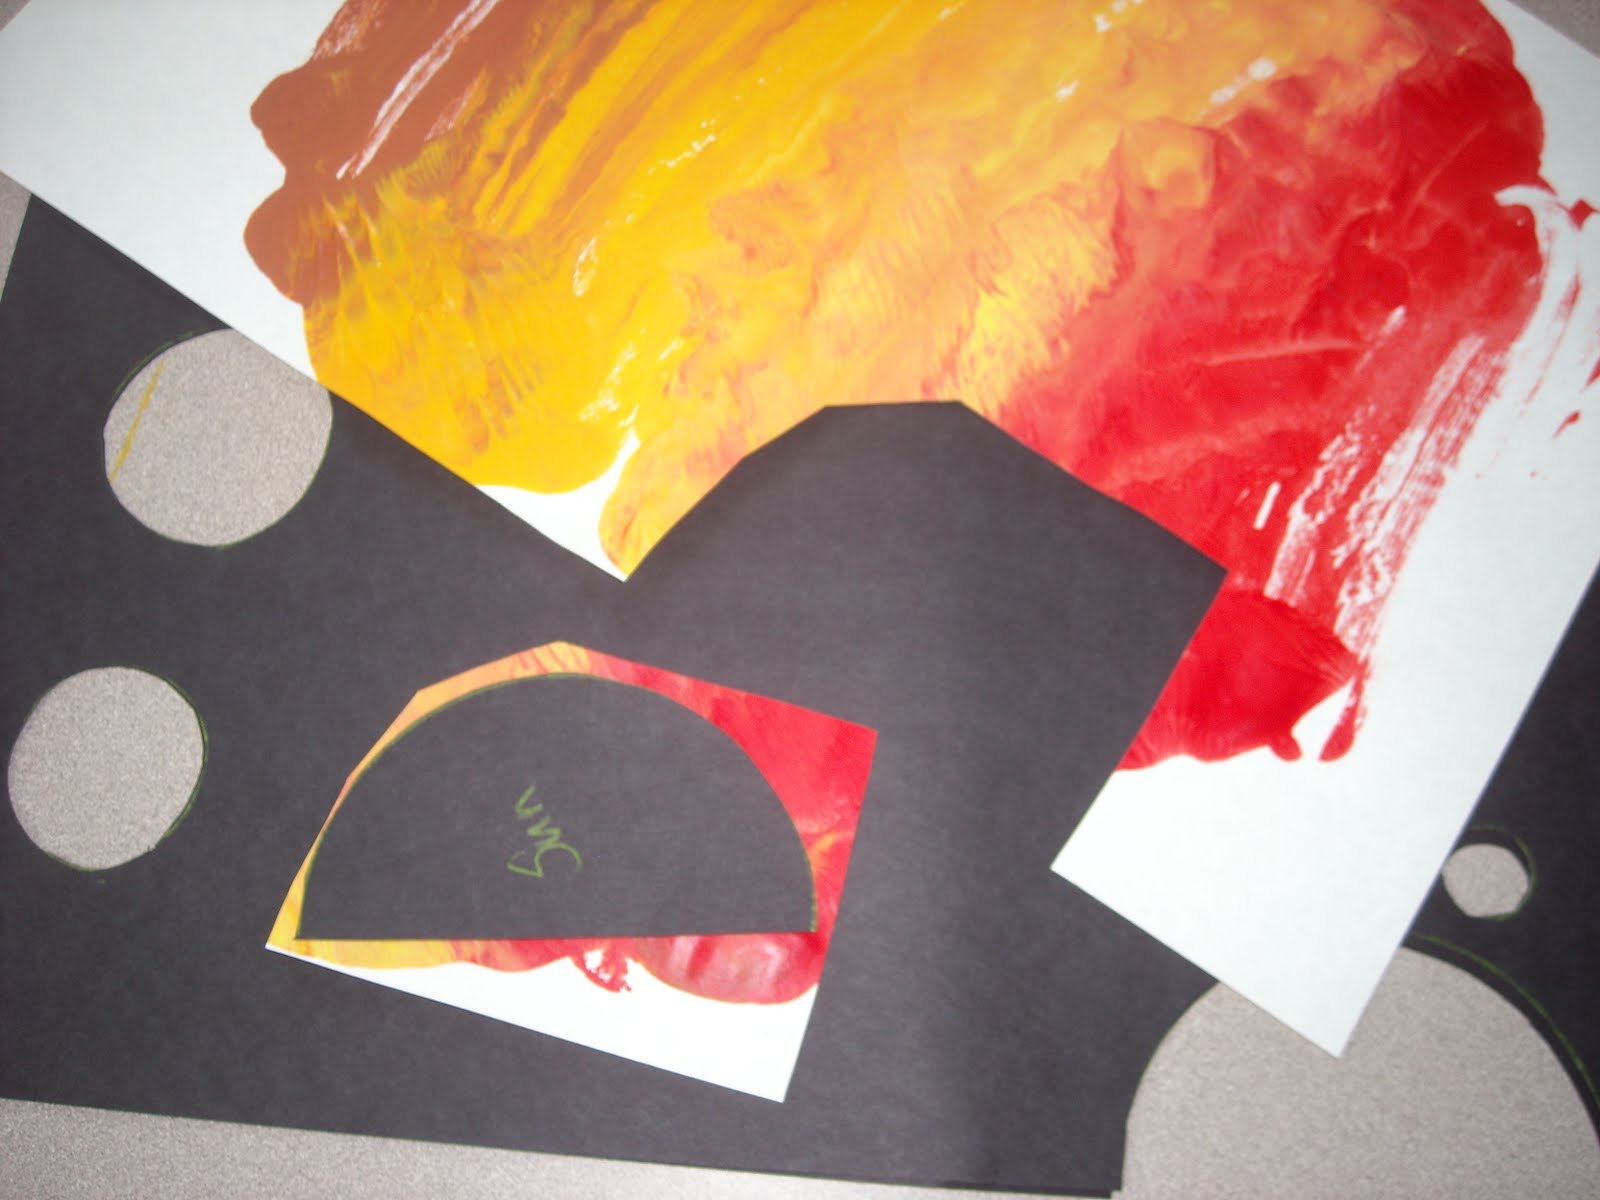
Now you will have extra paint on the mylar, you can draw patterns in the paint, stamp it, use different materials to create all kinds of textures and pull more prints. We will do this for the kids and after they are dry we can use them in another project. Or you can cut up the colored paper into squares and create mosaic pictures using the different colors! Endless possibilities!

Leprechauns and Lizards

I love creating a project for children and having them do their interpretation of what I am showing them! So many different looking little leprechauns!


They almost look like they are running or doing a jig!


One child asked where were their arms? I said that they were hiding under the beards!


Our iguanas turned out great! The kids colored their iguanas so differently and each had a unique personality. To display, I taped a large piece of white butcher paper to the wall and drew on some branches and a few leaves with black marker. I then let them loose on the paper with the big fat crayons! Kids love drawing on large pieces of paper. You could do paint but this had been a lot of work creating these projects and I needed something a little easier. When all the iguanas were dry, they were taped onto the paper branches! I think this may be my favorite project so far!

Saturday, March 10, 2012

Iguana

As part of the reptile grouping, we will be making an iguana. This one is more complicated and can be used by many ages. The kids in our class will cut out the body (hope they get to keep the tail!) and we will cut the legs. Older kids with better cutting skills can cut their own feet.

Items needed:
Ink stampers in green, yellow, violet, brown
brown and green construction paper
tissue paper in green or brown
pen or pencil for tracing
scissors
glue
1 medium googly eye

Getting started:


I have drawn a pretty easy body shape on a large sheet of construction paper and keeping fingers crossed the tails aren't completely cut off!


The first step is to stamp the body. It is easier to stamp before the cutting. Here I have stamped green first and then the yellow.


Next step is to stamp the brown and the violet. The colors go on dark but turn much lighter when dry. The inks dry pretty quickly.


Once dry, the kids will cut out the body. Adults will cut out the legs. I am planning on having the kids stamp this in the morning and get the legs cut before art time. In art class, they will assemble the iguana.


The legs are assembled with two on the backside and two on the front. I love their interpretations! The spiky back was created with the diecut machine at the main office. It is the grass border stamp. But you can create your own using pinking shears or any scissors that have the jagged edge. If those are not available, then just create an exaggerated jagged edge and use that instead.


Take a small square of tissue paper, I used green but brown would also work. Fold it to create lines. That's the goal but kids have their own ideas and that is fine too!


Glue the tissue to the piece under the neck.


Add the googly eye and hang up when dry! I am thinking of creating a large tree branch for these little guys to walk on! Can't wait to see what they create!