
Step one is to cut out the black paper. I suggest cutting two. Then one can be used for your project and the other as a template for all the others. Save the cut outs to be used for planets.
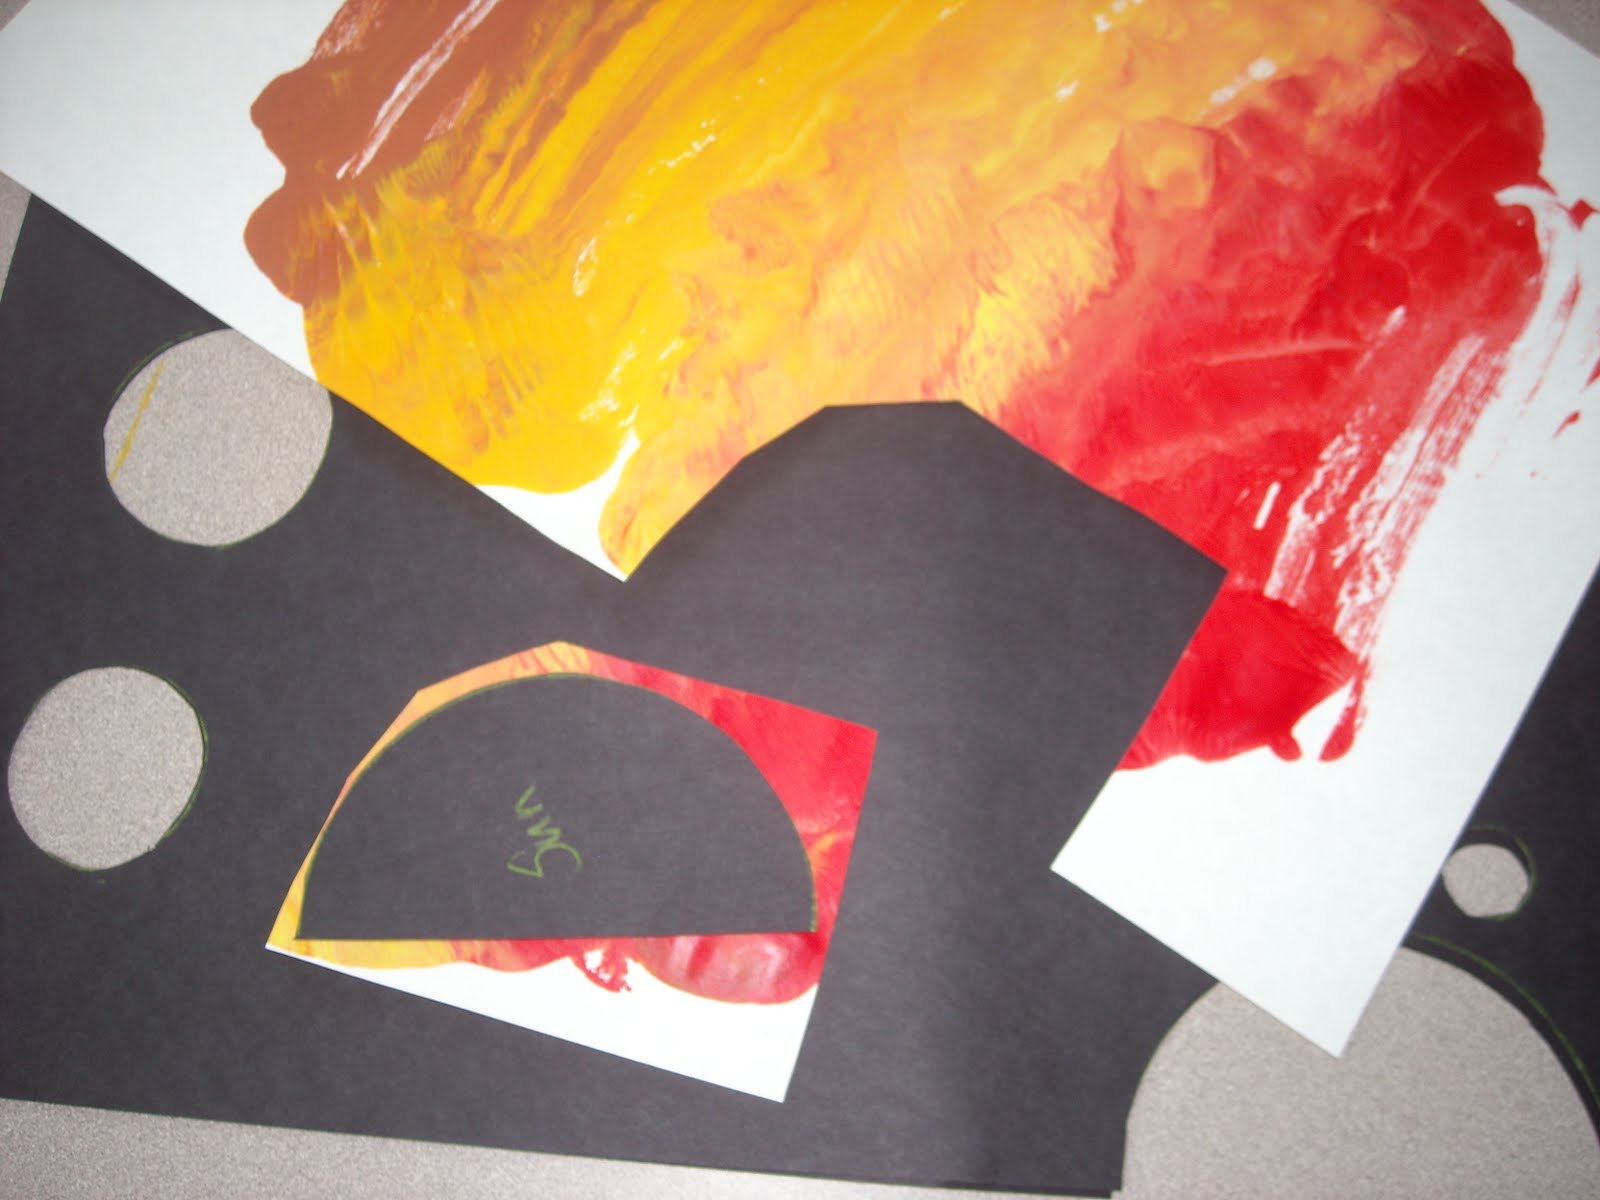
Take your planet cut outs and place them over areas of the paper to figure out how much to cut for the planet you are working on. You want to cut them much bigger so when you are placing your black paper over the top, it will create your planet.

On a sheet of white paper (mine is green because I used all my white playing with the paint!) and trace the planet locations on it. The painted planet paper cut outs need to cover the lines. Glue them in place. Use my example of color combinations to help create yours.

The final step is to glue the black sheet over the planets. I cut a ring out of more painted paper to finish off saturn. I thought it would look better. Our kids can't spell yet so we may have stickers with the planets names. They can then label each planet with a sticker. Older kids may write it themselves with white colored pencil.
2 comments:
I love the plants! That is a great idea!
planets! It's too early in the morning to comment. lol!
Post a Comment